Image Builder
Administrators are able to create custom images with pre-installed tools and libraries which are required for users.
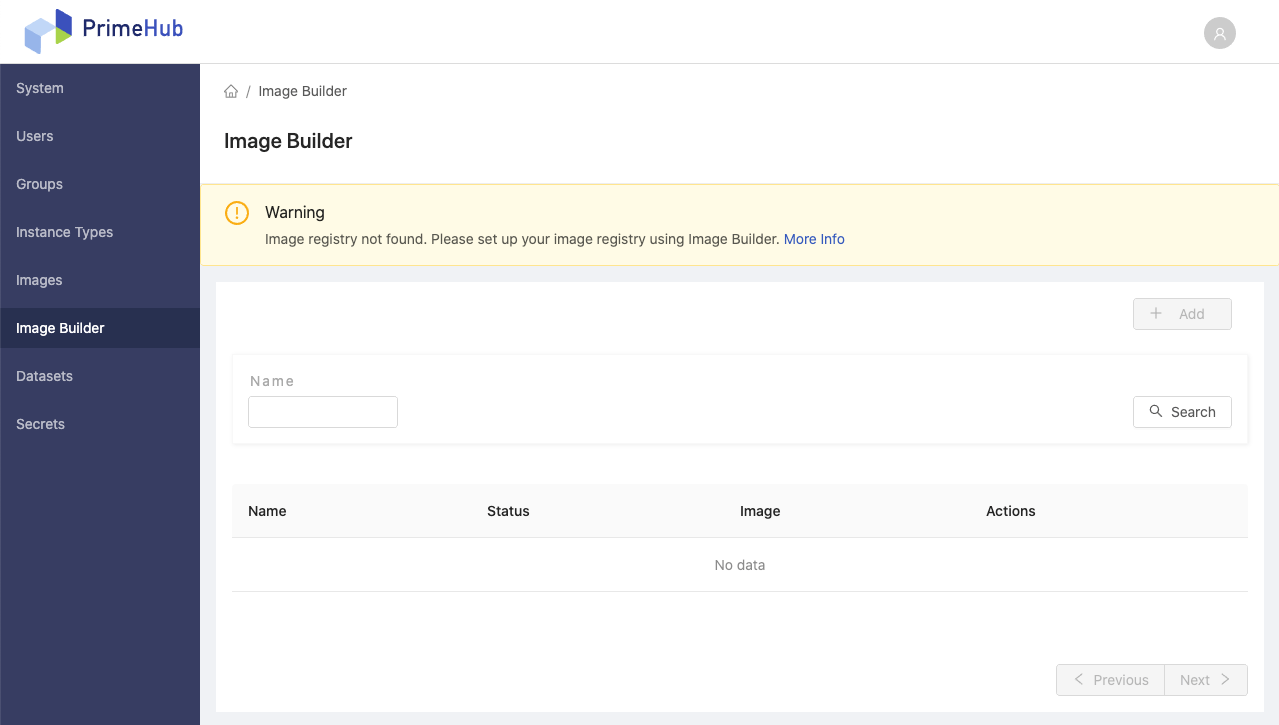
Custom Image List
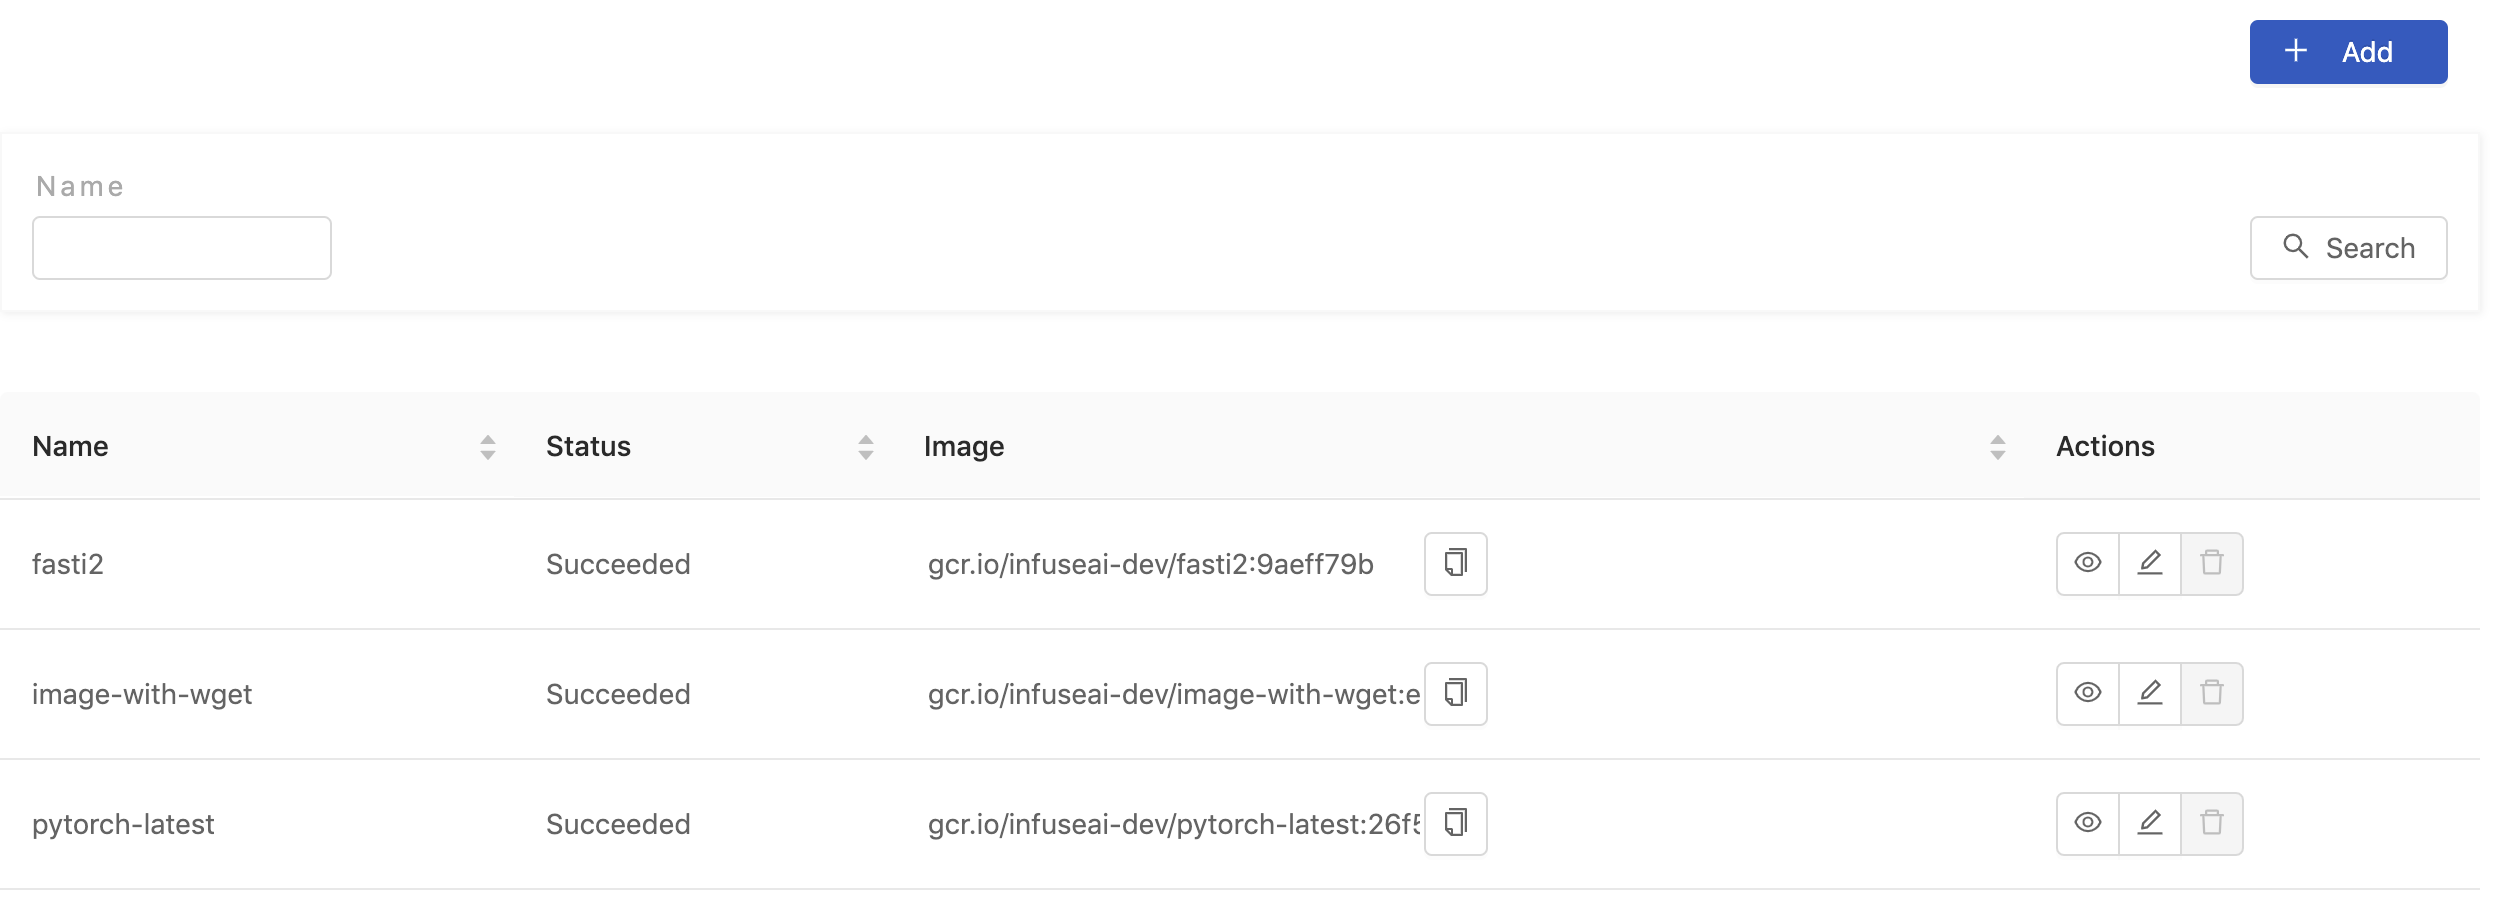
In Image Builder section, there is a list of created custom image specs with several fields as below:
NameThe name of image spec.StatusThe status of the latest custom built image.ImageThe url of the latest built image once it is built successfully.Actions-View,Edit,Delete.
Create Custom Image Spec
Click + Add button to enter the creation page.
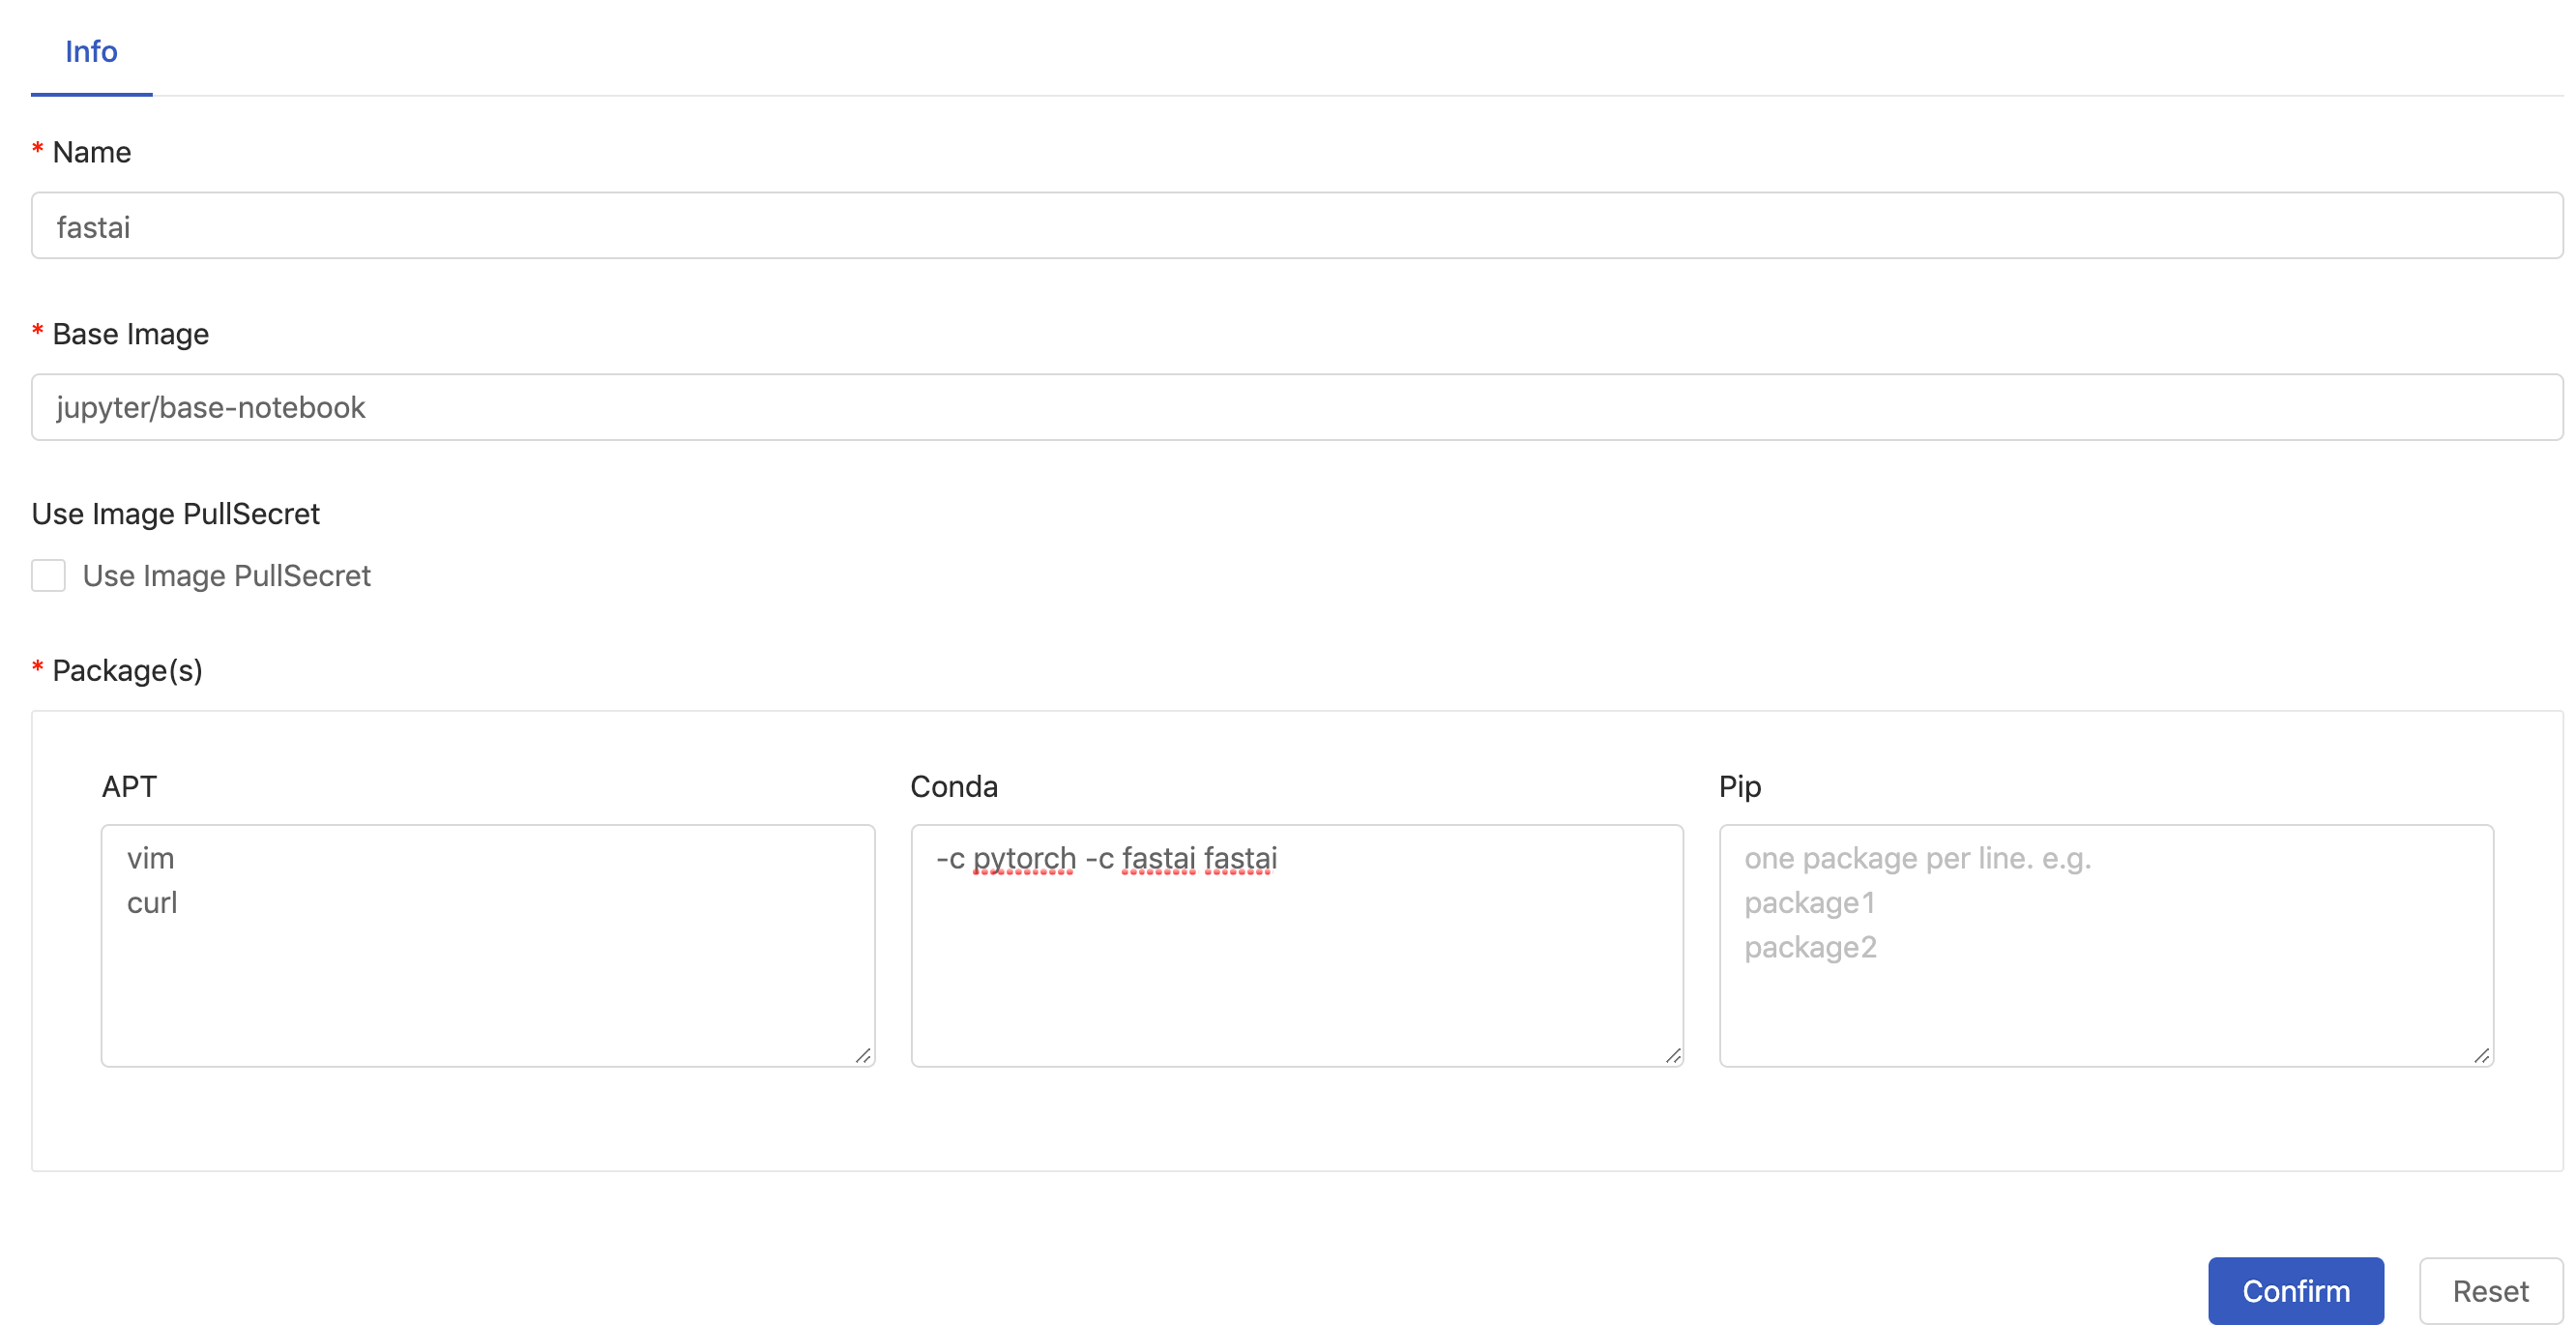
Fill in the fields, some are required:
Name(required) A unique name, it's not able to be modified once created. (Only lowercase letters, numbers, hyphen-and a dot.can be filled in.)Base image(required) The url of the base image; we can use any valid image URLs or we can choose images which are added via Image Management from autocompletion.Use Image PullSecretChecked off if a pull secret is required.Packageschoose packages installer/management and fill in packages requirement.APTPackages management of Debian, Ubuntu and related Linux distribution.CondaA packages management supports multiple programming language. [Reference]PipUsing python packages installer. [Reference]
Note: In case of multiple packages, please using the line break for each package instead of putting them in one line.
Click Confirm to complete the addition.

Once the image is built successfully, the url of the image will be listed.
Conda Package Match Specification
We want to mention specially that Conda supports to specify channel where the package is sourced from and match specification of the package. So we can specify images more precisely. The syntax is
(channel(/subdir):(namespace):)name(version(build))[key1=value1,key2=value2]
For example, we want to install numpy package which is sourced from the channel,conda-forge, here.
We can use conda-forge:: to specify the channel:
conda install conda-forge::numpy==1.17*
Edit Custom Image Spec

Click the button to enter the edit page of the custom image spec.
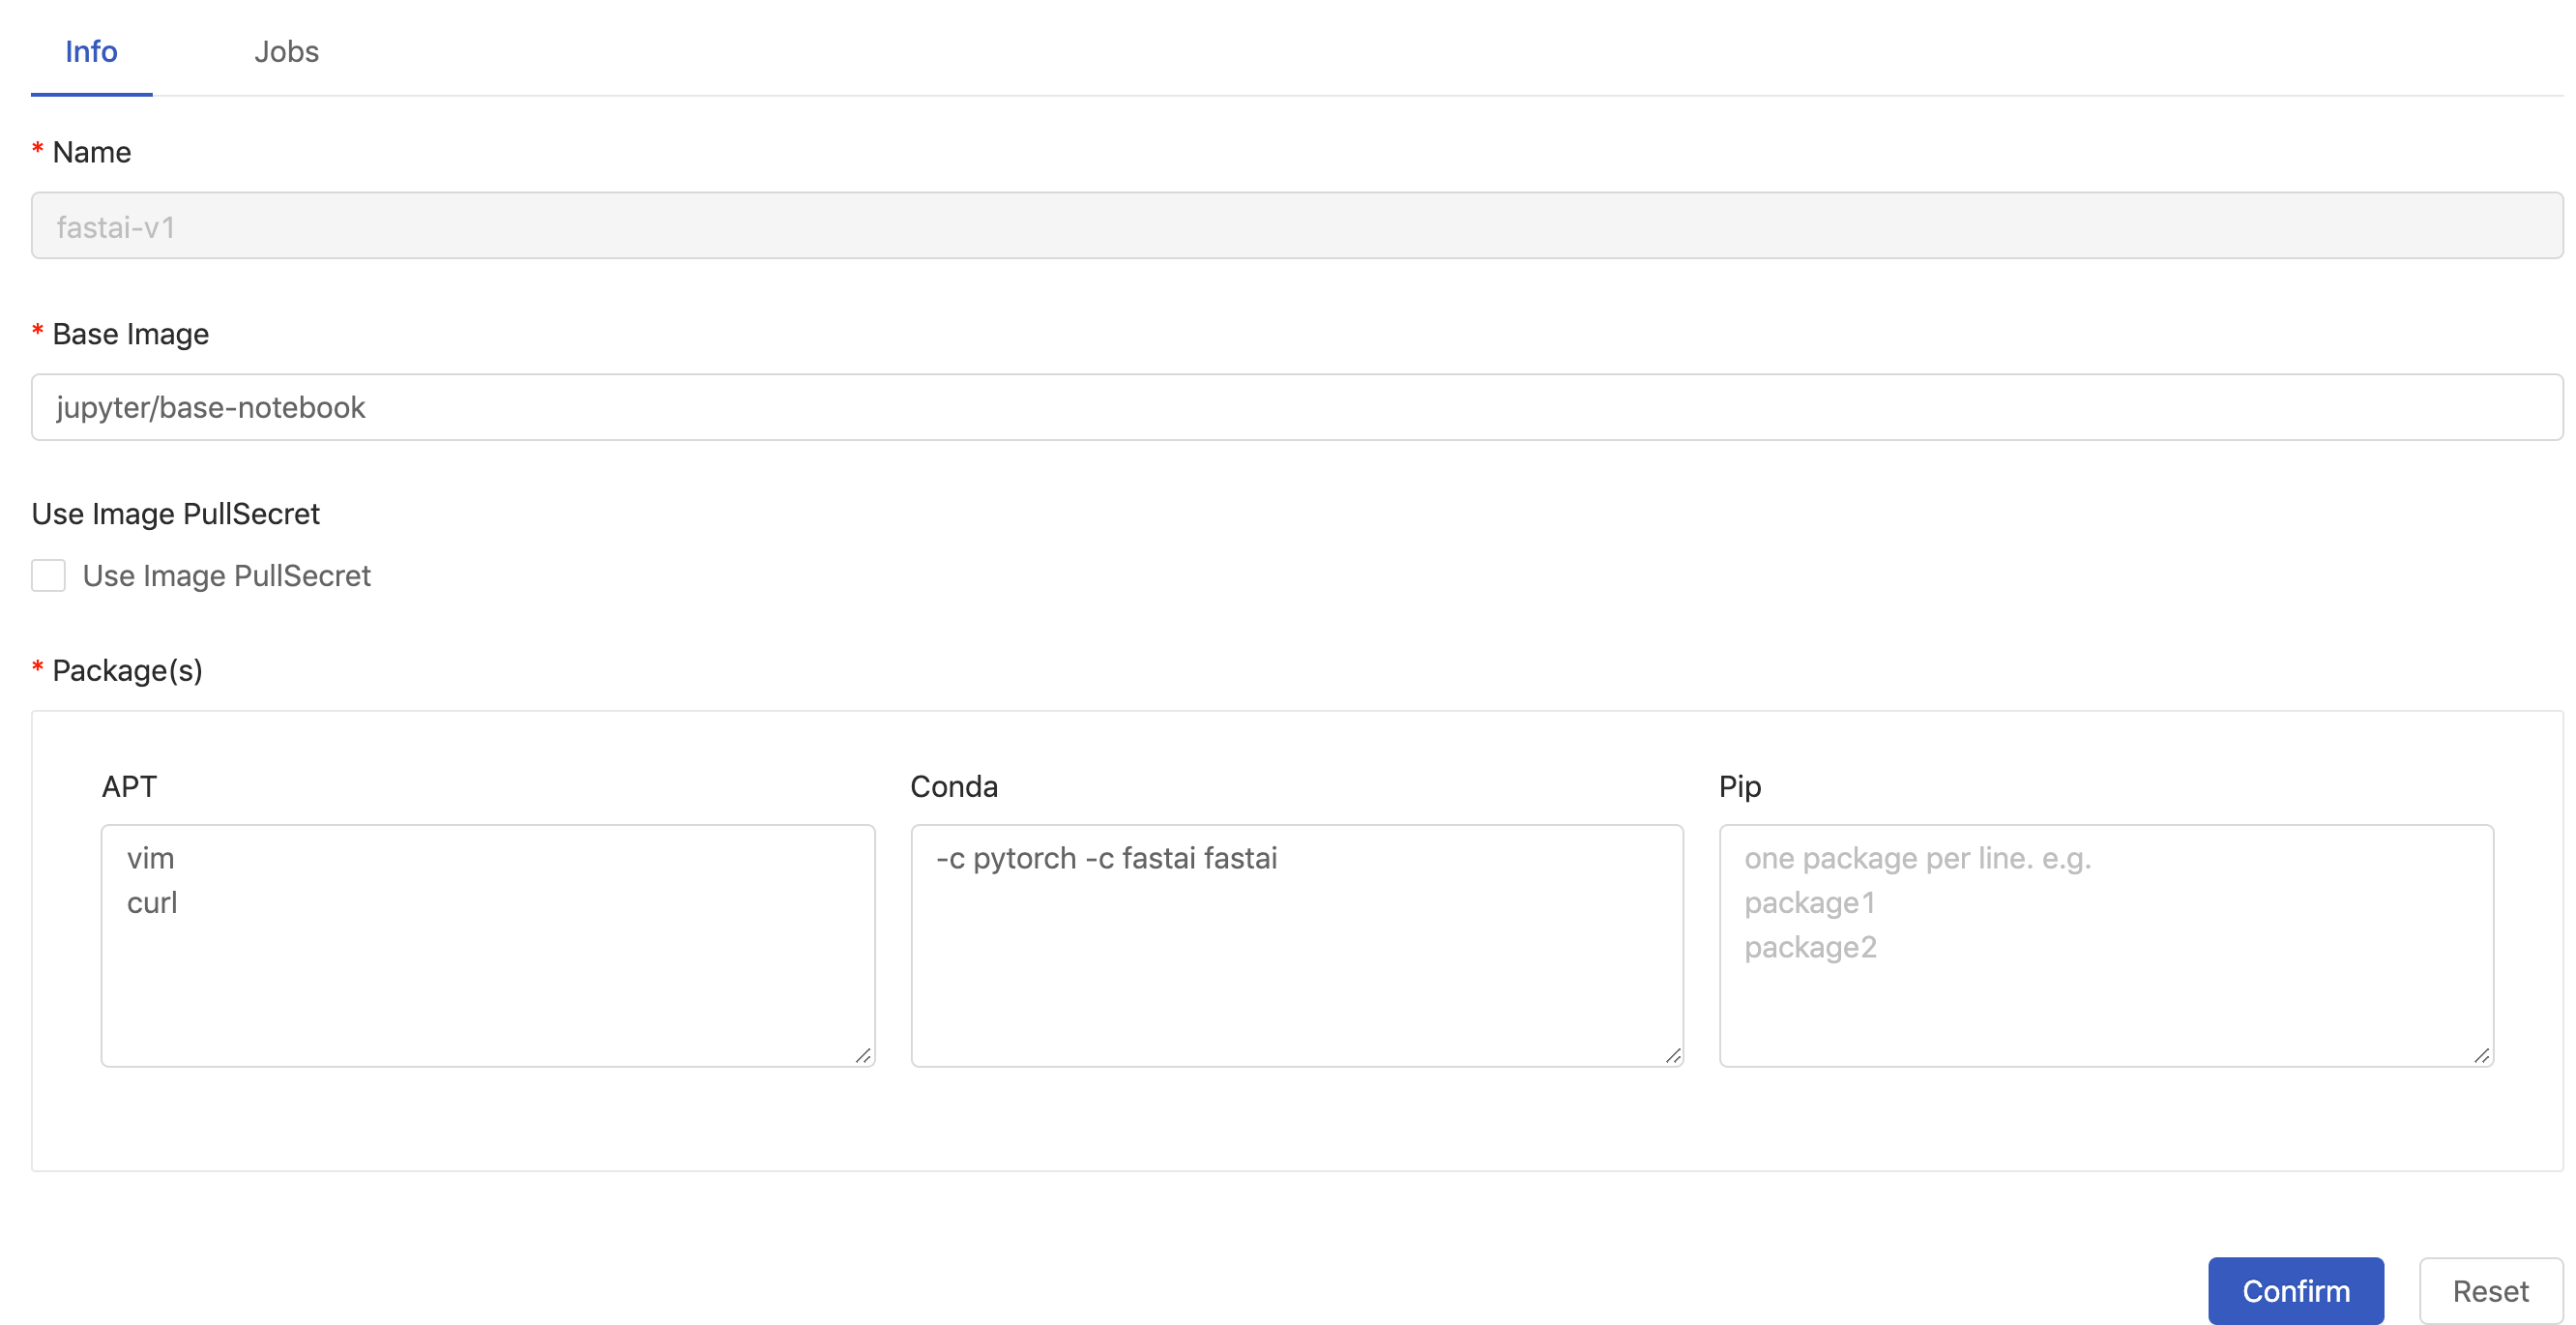
On edit page, there are two tabs, Info and Jobs.
Info is exactly same as creation page. We can make modifications to the spec, except the Name which is not editable.
Once any modification is confirmed, a job of image build will be triggered and it will be listed in the tab Jobs.
View Jobs of Building Image
A job is an image build job. Once a creation of a custom image spec is confirmed, the first job of image build is triggered automatically. Afterwards, any confirmed modifications of spec will trigger other image build jobs. Each job logs the spec and the progress.
These jobs/image urls are listed here.
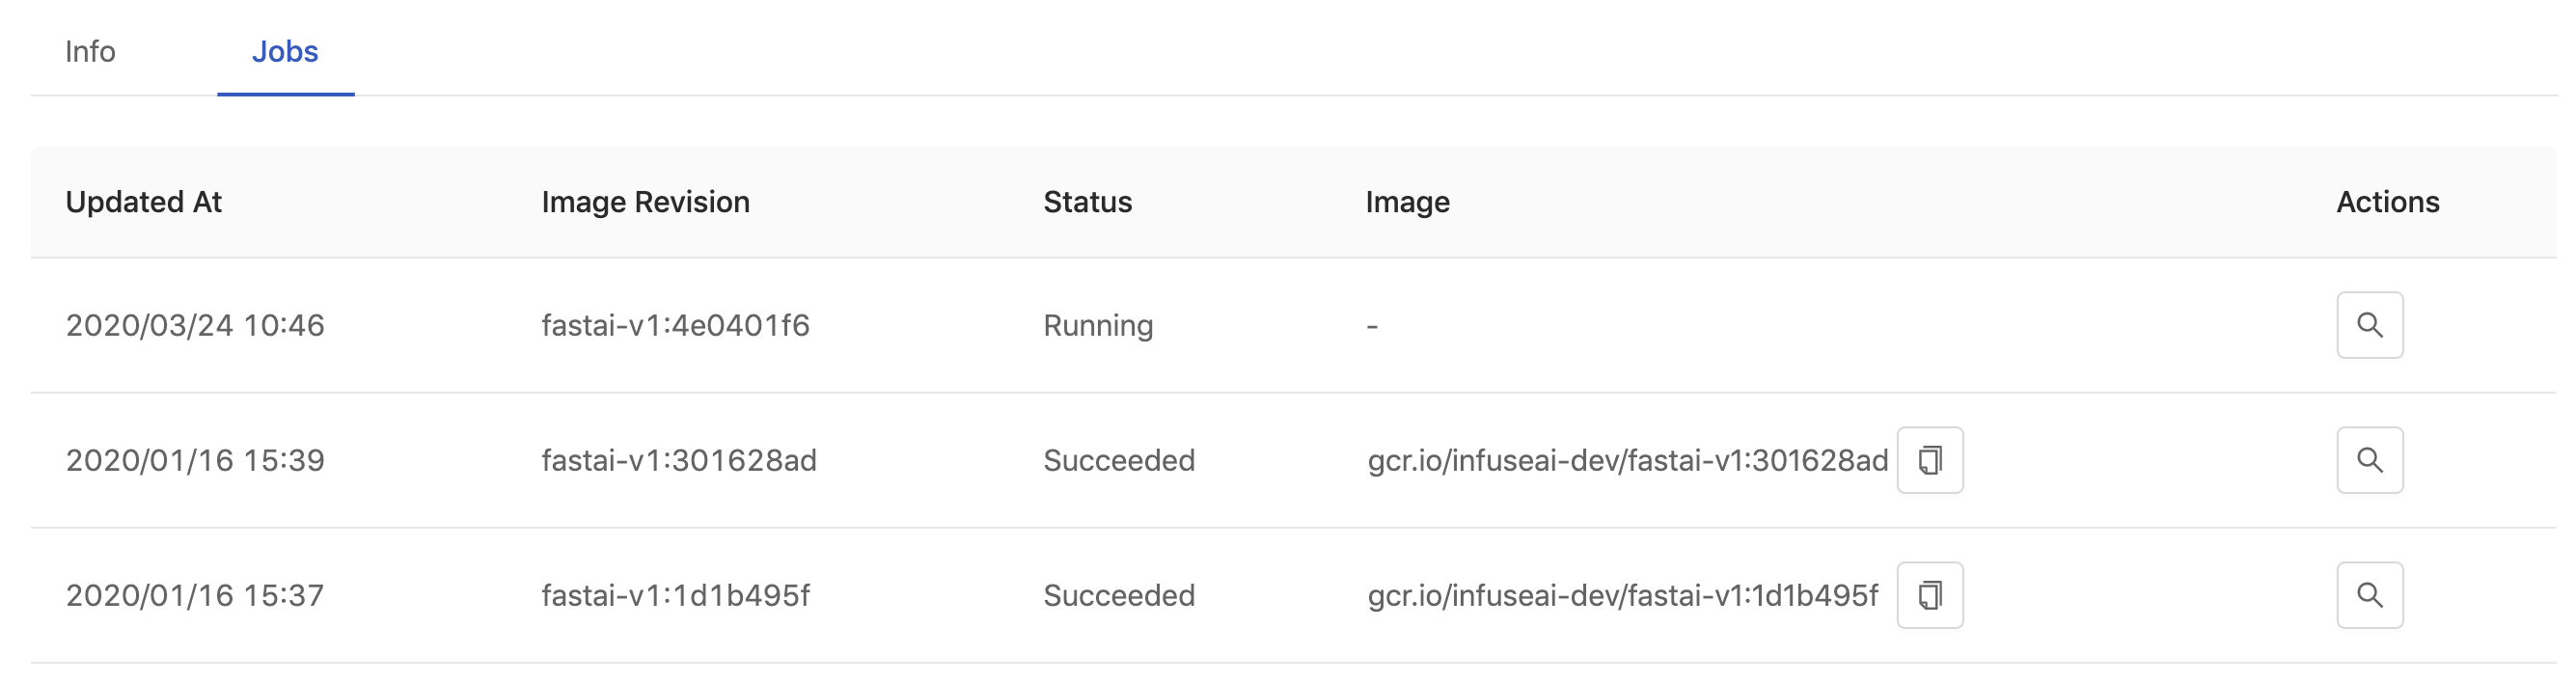
Updated AtThe timestamp when the job is updated.Image RevisionThe revision of an custom image.StatusThe status of the custom image creation job.Actions- View the specification and logs of an custom image build.

Click the button, we can check the log of each job of image build with its spec.
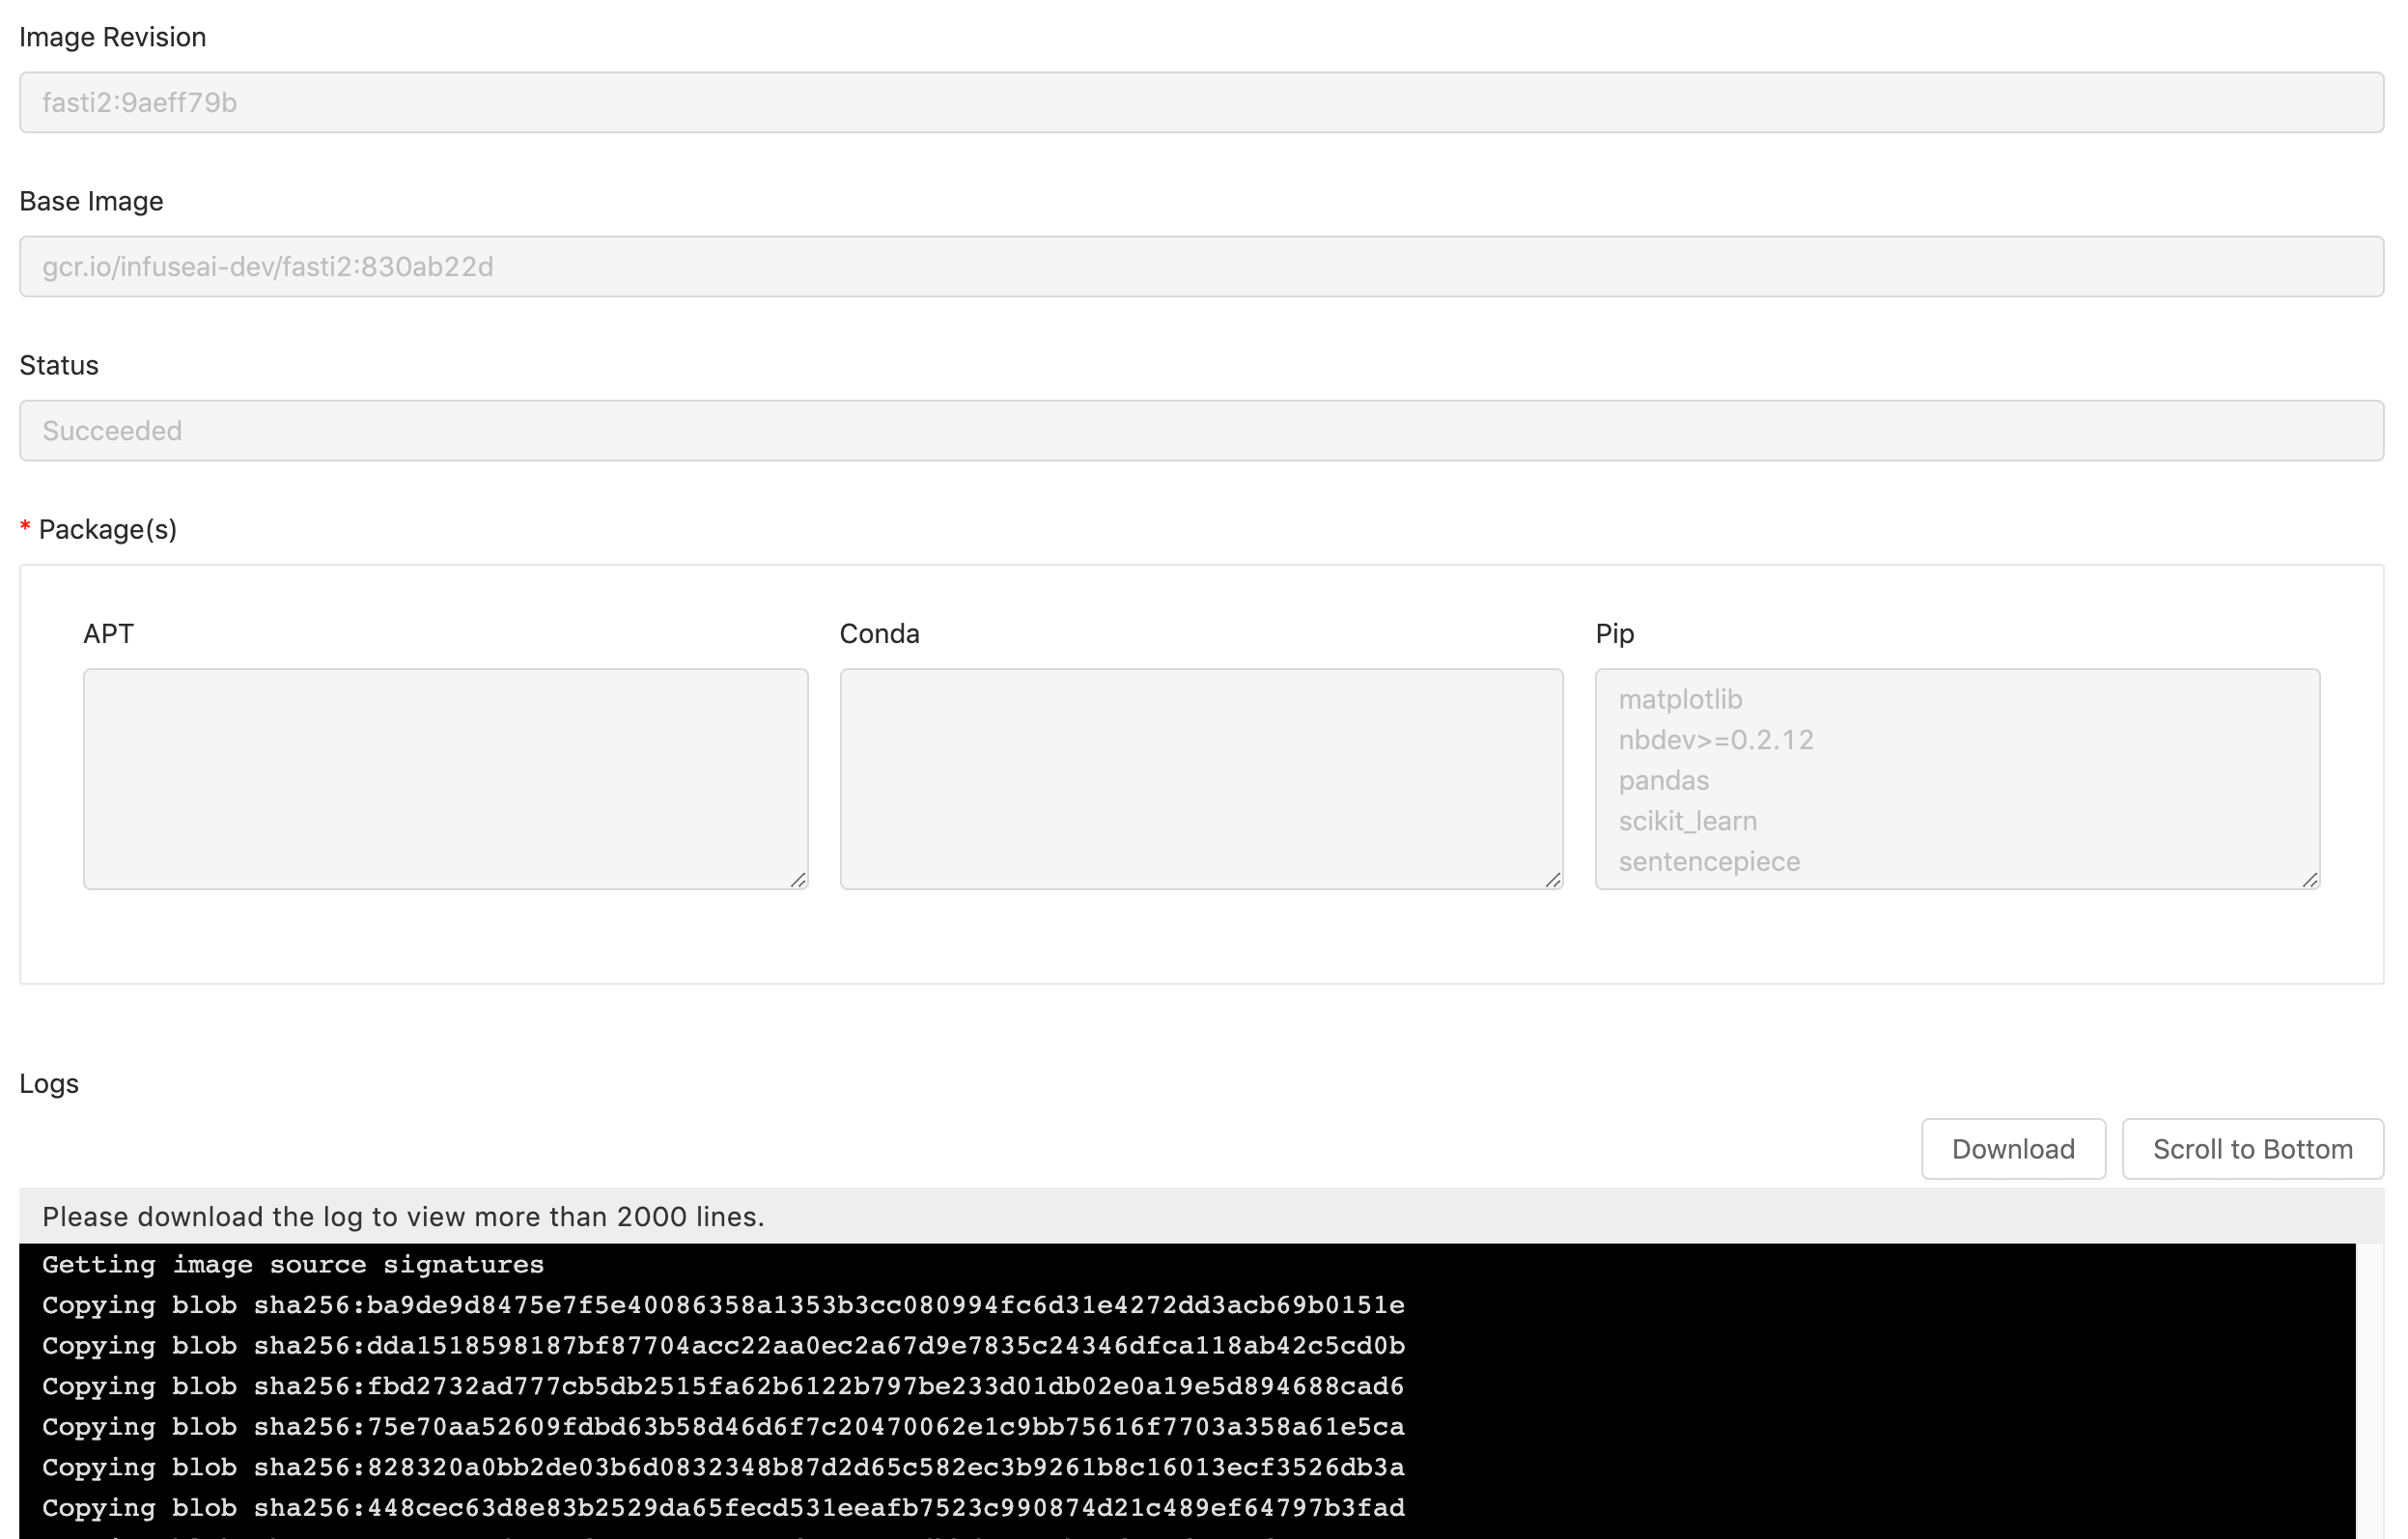
It is helpful that when we want to know what made image build fail and what spec the image build is based on.
Logs viewer lists latest 2000 lines only of logs; press
Downloadfor the complete log file.
Delete Custom Image Spec

Click the button, the confirmation dialog will pop up, and the custom image spec will be deleted once you click OK.
Registry Configuration
To use Image Builder, we have to configure PrimeHub with a registry where built images are pushed to.
In terms of enterprise customers, PrimeHub, by default, is already configured with a registry and image builder is ready to use.
Otherwise, we should see the warning, image registry not found. Please see Use DockerHub Registry for the configuration.