Kubeflow Installation Guide
Kubeflow is a machine learning toolkit for Kubernetes. It provides a series of services like distributed training, hyperparameter tuning and model serving for end-to-end model developing.
Here are the instructions to install Kubeflow together with PrimeHub in the cluster and use the account from PrimeHub to login and use Kubeflow
Prepare your environment
For this document, we install kubeflow v1.0.2. You can also refer to the official website for the following content.
Download the kfctl binary for the Kubeflow CLI from the official website and set environment variables:
Download the kfctl v1.0.2 release from the Kubeflow releases page.
Unpack the tar ball:
tar -xvf kfctl_<release tag>_<platform>.tar.gzCreate environment variables to make the deployment process easier
# Add kfctl to PATH, to make the kfctl binary easier to use.
# Use only alphanumeric characters or - in the directory name.
export PATH=$PATH:"<path-to-kfctl>"

# Set the following kfctl configuration file:
export CONFIG_URI="https://raw.githubusercontent.com/kubeflow/manifests/v1.0-branch/kfdef/kfctl_istio_dex.v1.0.2.yaml"

# Set KF_NAME to the name of your Kubeflow deployment. You also use this
# value as directory name when creating your configuration directory.
# For example, your deployment name can be 'my-kubeflow' or 'kf-test'.
export KF_NAME=<your choice of name for the Kubeflow deployment>

# Set the path to the base directory where you want to store one or more
# Kubeflow deployments. For example, /opt.
# Then set the Kubeflow application directory for this deployment.
export BASE_DIR=<path to a base directory>
export KF_DIR=${BASE_DIR}/${KF_NAME}
Download the config file
mkdir -p ${KF_DIR}
cd ${KF_DIR}

# Download the config file and change the default login credentials.
wget -O kfctl_istio_dex.yaml $CONFIG_URI
export CONFIG_FILE=${KF_DIR}/kfctl_istio_dex.yaml
Configuration
Keycloak
- Create a new client:
kubeflow - Set the
Access Typeto:confidential - Add a
Valid Redirect URIsfor the client:http://127.0.0.1:8080/login/oidc - Copy the
Client SecretinCredential - Make sure every user has email.
CONFIG_FILE
vim $CONFIG_FILE
and modify the following part
- kustomizeConfig:
    overlays:
      - application
    parameters:
      - name: namespace
        value: istio-system
      - name: userid-header
        value: kubeflow-userid
      # Change the oidc_provider to keycloak
      - name: oidc_provider
        value: https://${KEYCLOAK_HOST}/auth/realms/primehub
      # Add the redirect uri which should be same as the setting in the keycloak
      - name: oidc_redirect_uri
        value: http://127.0.0.1:8080/login/oidc
      # Remove the following line
      # - name: oidc_auth_url
      #   value: /dex/auth
      # - name: skip_auth_uri
      #   value: /dex

      # Change the client_id to kubeflow
      - name: client_id
        value: kubeflow
      # Add client secret
      - name: application_secret
        value: d38bdc7e-ac28-43e0-b259-a6559cd1f106
    repoRef:
      name: manifests
      path: istio/oidc-authservice
  name: oidc-authservice
Cert-manager
Since the cert-manager version used in kubeflow is not the same as in PrimeHub, we need to delete the existing cert-manager first or kubeflow installation will fail.
helm delete --purge cert-manager
Deploy
kfctl apply -V -f ${CONFIG_FILE}
wait until the following message comes up
INFO[0193] Applied the configuration Successfully!
Access Kubeflow
First, you need to expose the service
kubectl port-forward svc/istio-ingressgateway -n istio-system 8080:80
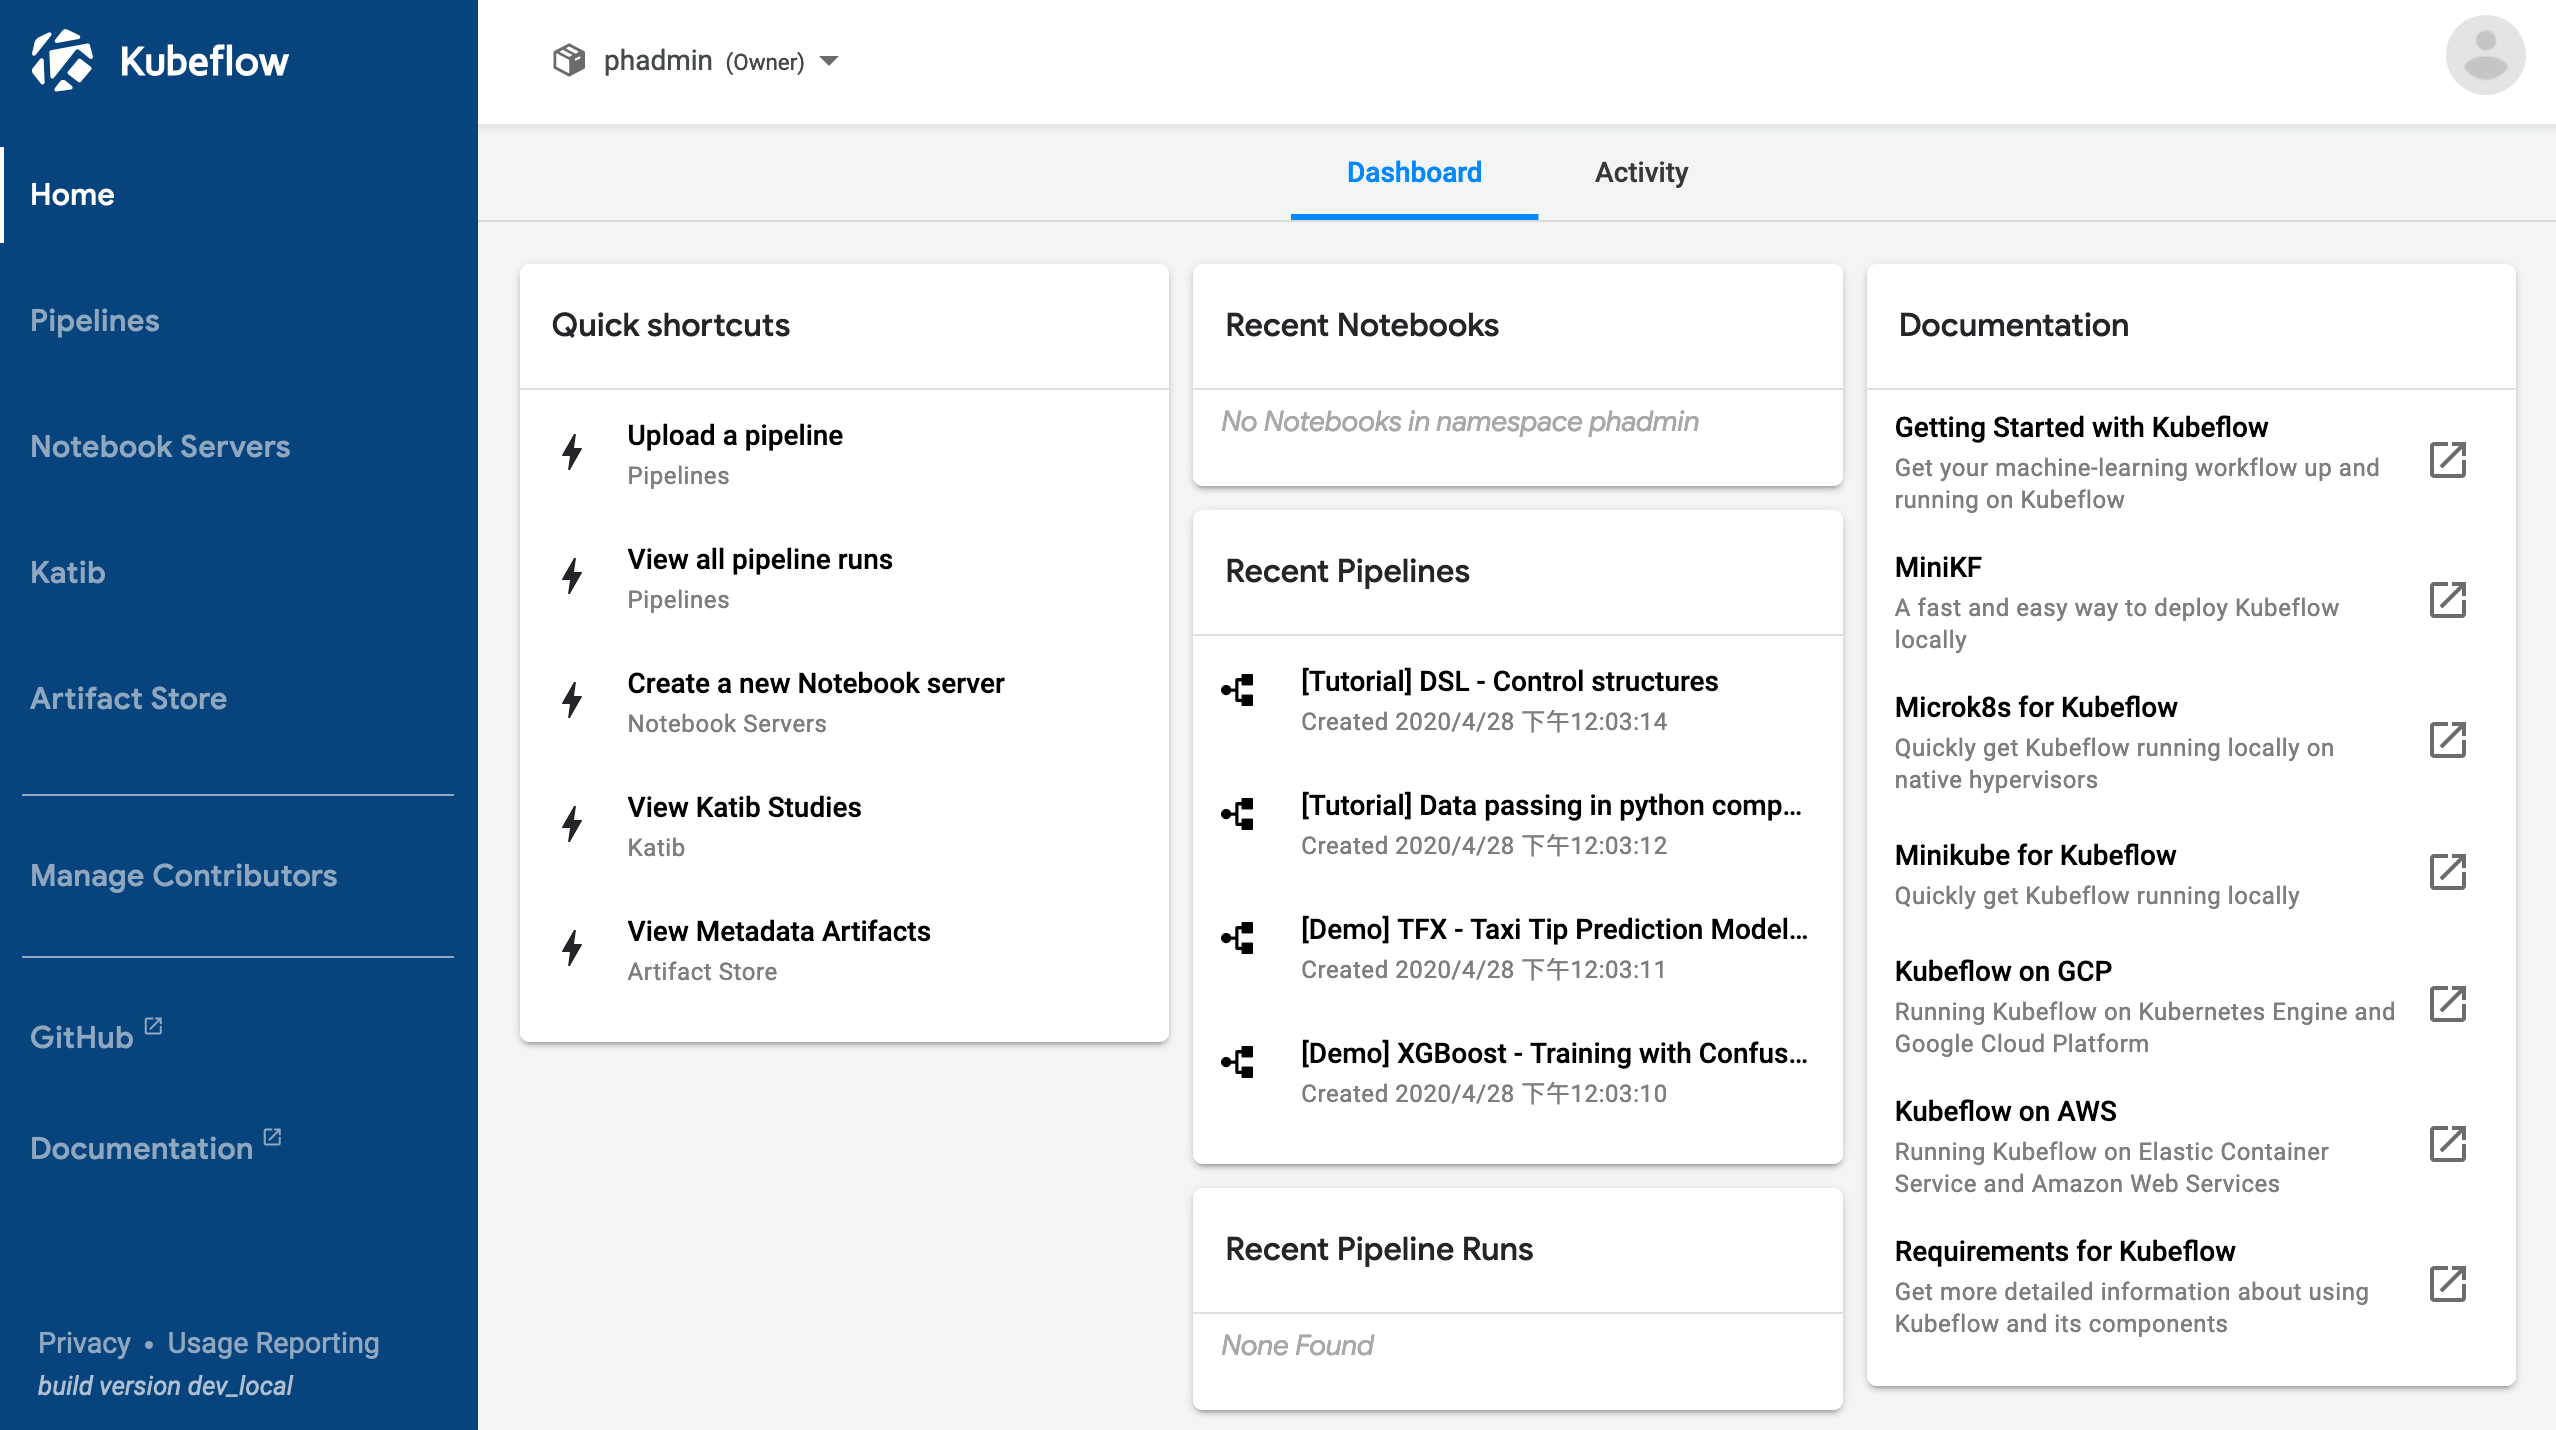
Open the website 127.0.0.1:8080, it will go through the same login process as PrimeHub.

Things to Know
- Currently, we only support using PrimeHub account to login Kubeflow.
- The resources used in Kubeflow will not be counted and restricted by PrimeHub.