repo2docker image
PrimeHub could support notebook images built from repo2docker tool, if an images had
sudoinstalled- jovyan user is
1000uid - notebook started in
Safe Mode
Please install repo2docker tool, before you get started.
Introduce repo2docker
repo2docker is a tool to simplify building a jupyter-notebook based image without giving a Dockerfile. We could put configuration files to make it working with repo2docker.
Build a PrimeHub compatible image
We will use binder-examples to show how to make it compatible with PrimeHub
git clone https://github.com/binder-examples/tensorboard
In order to make it work on the PrimeHub, we need to add sudo package. It needs an apt.txt file with this content:
sudo
After adding sudo, it is time to build an image with jupyter-repo2docker
- set user with
--user-name jovyan - set user uid with
--user-id 1000 - configure the docker image tag by
--image
jupyter-repo2docker --no-run --user-name jovyan --user-id 1000 \
--image infuseai/tensorboard-repo2docker-example .
If the command will invoke docker to build an image, you could push the image to docker repository and register it on the PrimeHub.
Launch notebook
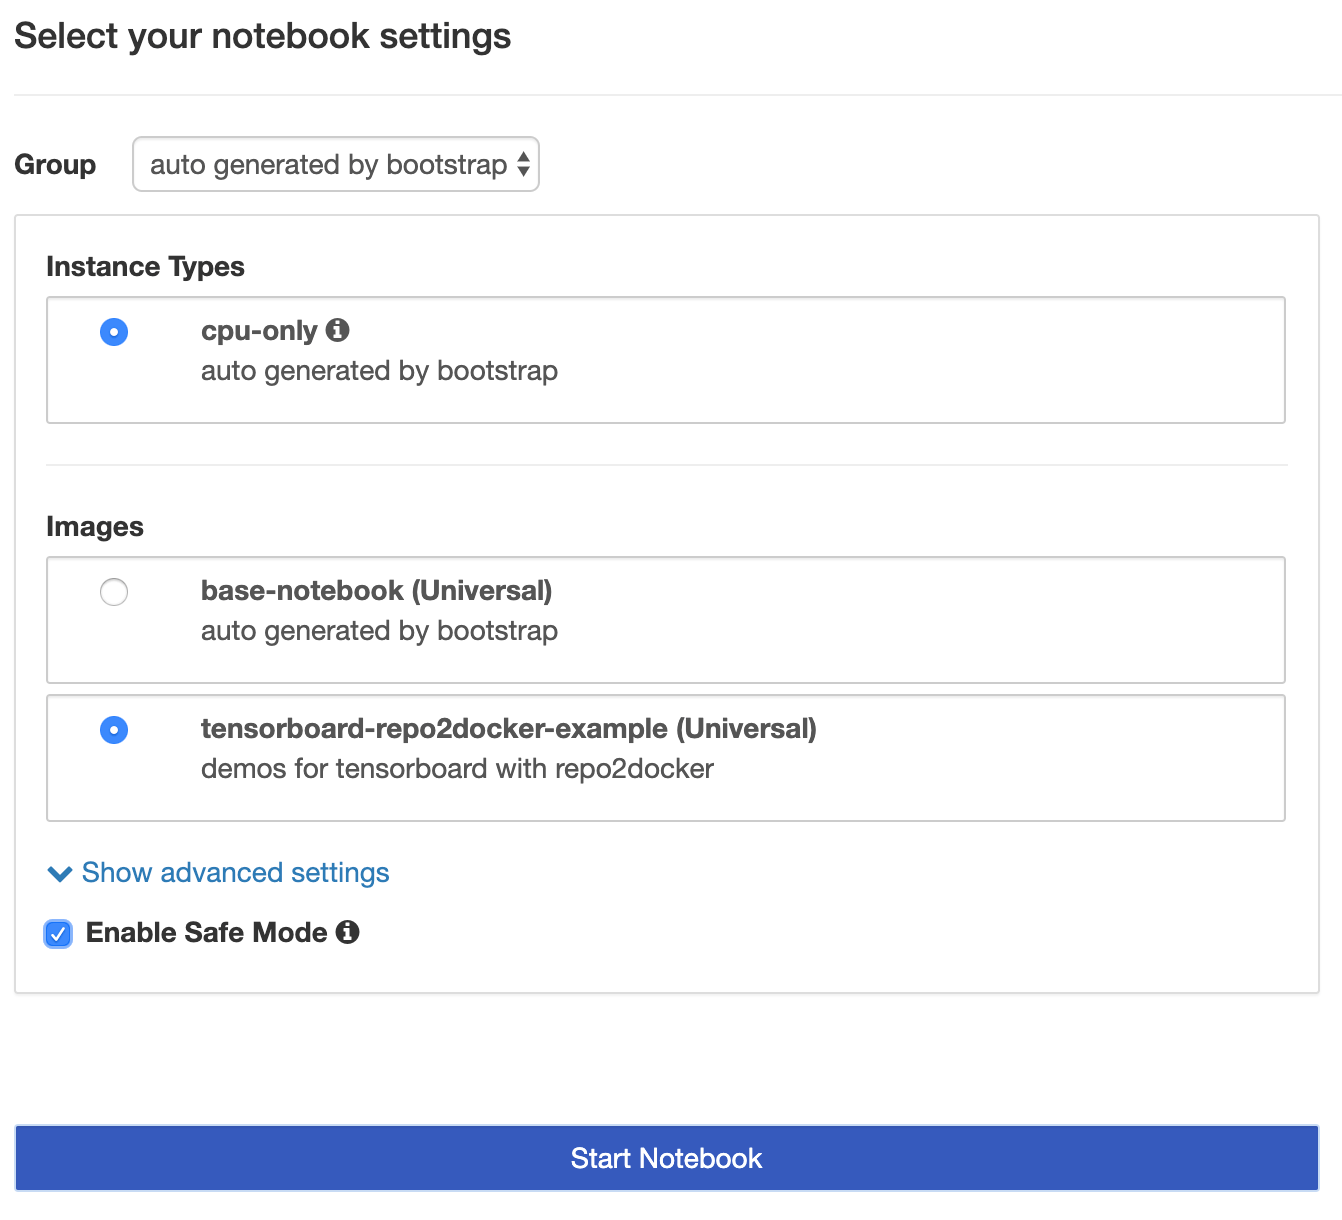
Users should start a notebook built from repo2docker in Safe Mode, because it might have installed libraries in the $HOME.

Example: RStudio binder
We could follow steps to build a Jupyter Notebook with RStudio: https://github.com/binder-examples/r
- Ensure repo2docker installed
- Clone the source code and add
sudotoapt.txt - Build image with arguments
--user-name jovyan --user-id 1000 - Add image to PrimeHub and start in
Safe Mode
Check repo2docker
Execute jupyter-repo2docker command to see if any output from the command
$ jupyter-repo2docker --help | head -10
usage: jupyter-repo2docker [-h] [--config CONFIG] [--json-logs]
                           [--image-name IMAGE_NAME] [--ref REF] [--debug]
                           [--no-build]
                           [--build-memory-limit BUILD_MEMORY_LIMIT]
                           [--no-run] [--publish PORTS] [--publish-all]
                           [--no-clean] [--push] [--volume VOLUMES]
                           [--user-id USER_ID] [--user-name USER_NAME]
                           [--env ENVIRONMENT] [--editable]
                           [--target-repo-dir TARGET_REPO_DIR]
                           [--appendix APPENDIX] [--subdir SUBDIR] [--version]
If command not found, please install it by pip install jupyter-repo2docker
command not found: jupyter-repo2docker
Update configuration
Clone the source code
git clone https://github.com/binder-examples/r.git
In the source, create apt.txt and add sudo in a line
$ git status
On branch master
Your branch is up to date with 'origin/master'.

Untracked files:
  (use "git add <file>..." to include in what will be committed)

    apt.txt

nothing added to commit but untracked files present (use "git add" to track)
Verify
$ cat apt.txt
sudo
Build image
Build a image with the tag infuseai/r in the source directory (.)
jupyter-repo2docker --no-run --no-clean --user-name jovyan --user-id 1000 --push --image infuseai/r .
Add Image to PrimeHub
After the image taggedinfuseai/r is pushed, add it to the PrimeHub and start Notebook with the image in Safe Mode. Initially, it enters a general Jupyter Notebook.
For the RStudio environment, we must add the following at the end of the URL:
?urlpath=rstudioaccording to the README.
Regarding accessing RStudio, the current URL looks like
https://example.primehub.io/user/<username>/lab
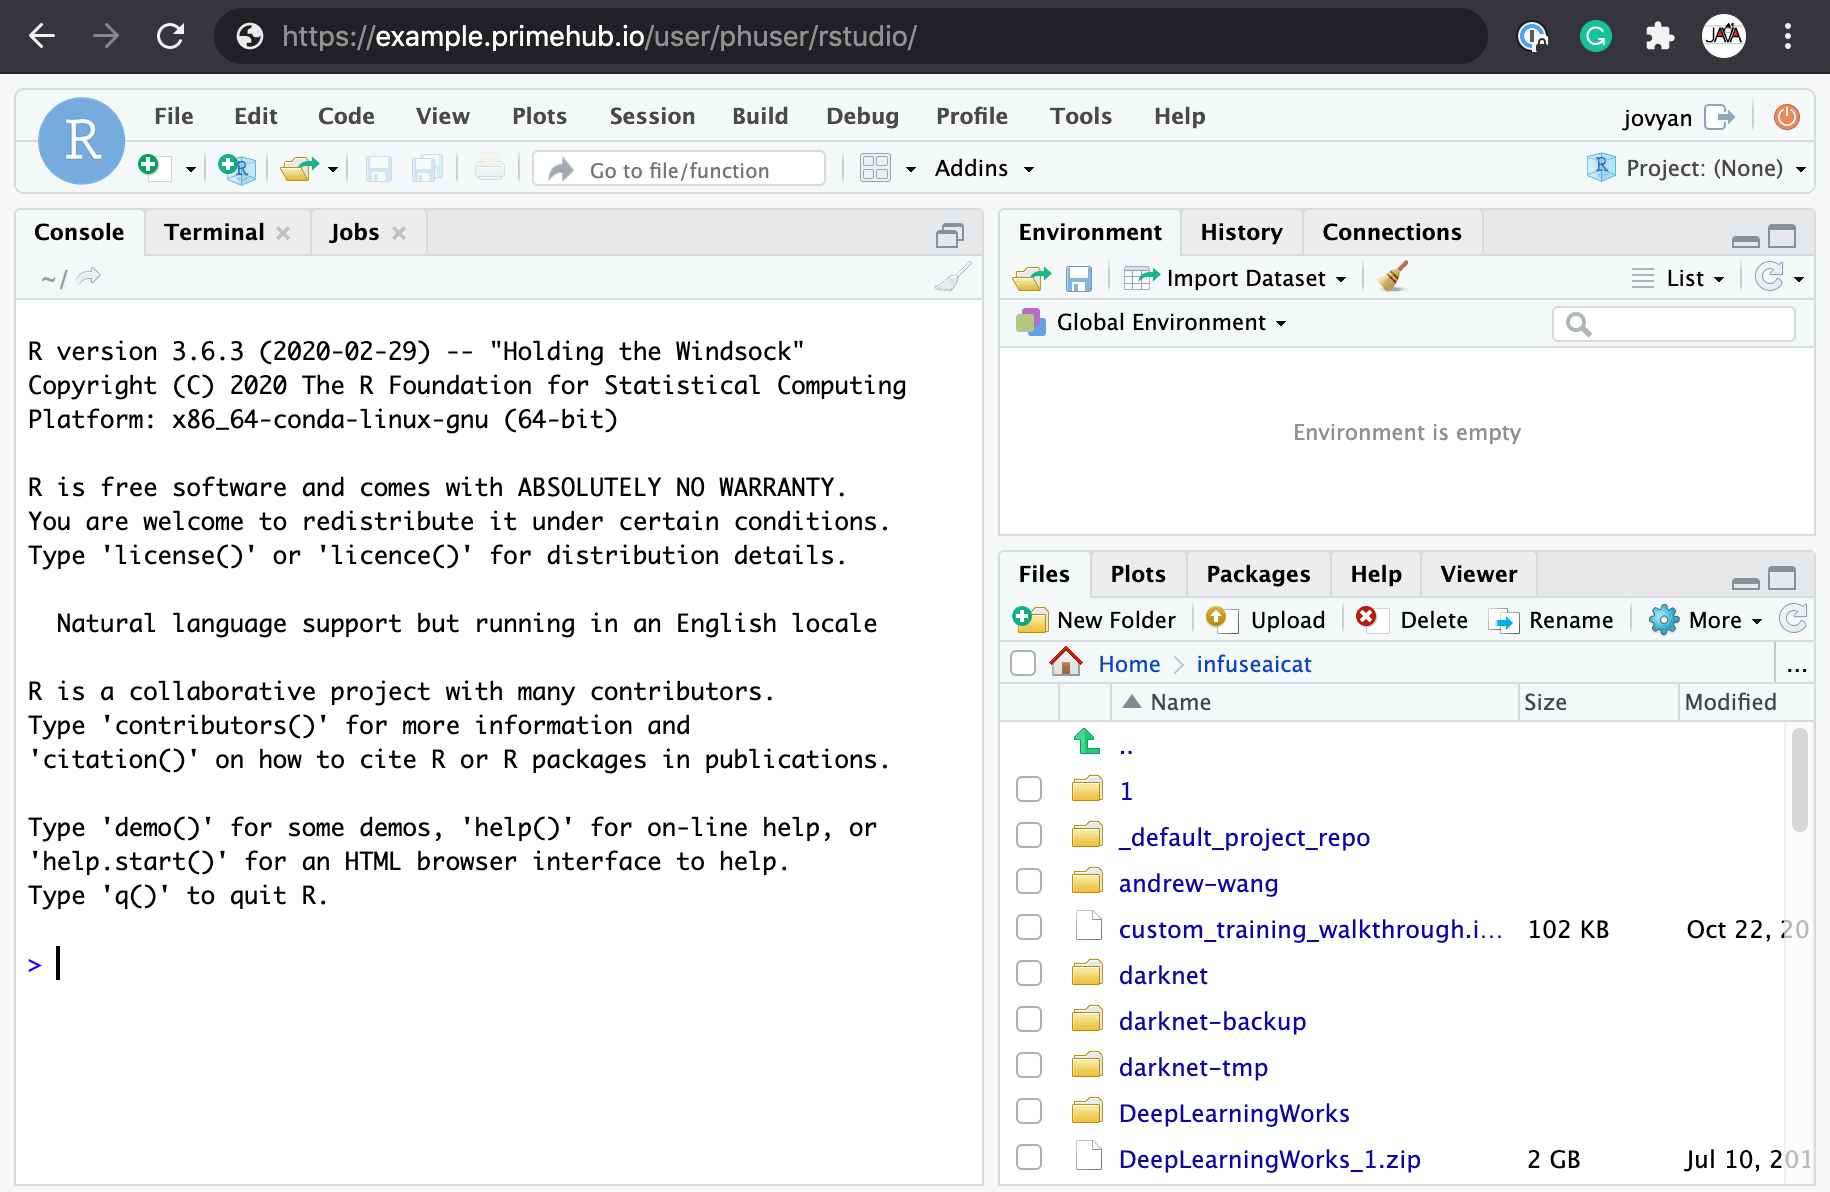
Replace the suffix lab with rstudio to be like URL below and navigate.
https://example.primehub.io/user/<username>/rstudio
Here the RStudio is
