1 - Label Data
The dataset labeling is the critical part of AI / ML model development. Data scientists cannot train good models without well-defined dataset.
Label Studio is a useful open-source data labeling tool. In PrimeHub Apps, it provides an easy way for setting up Label Studio in a cloud-ready environment for your team.
In this tutorial, we will use PrimeHub Apps with Label Studio to label the screw data for further training works.
What we need?
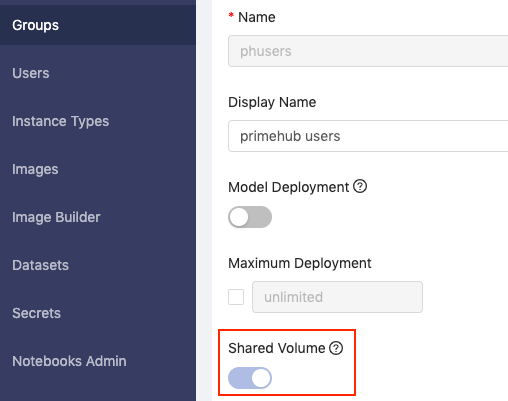
Enable Shared Volume in your group.
Install
Label StudioinPrimeHub Apps.- Click
Install to PrimeHubinLabel Studio.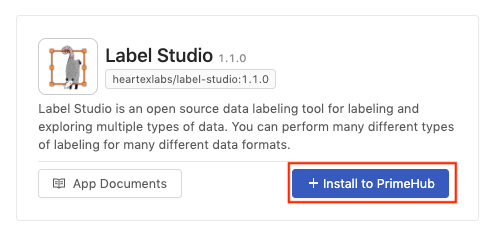
- Fill in
Namewithlabel-studio.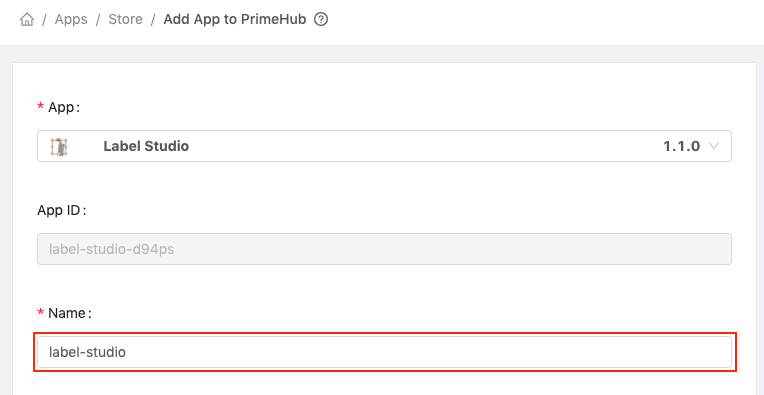
- Click
Createbutton.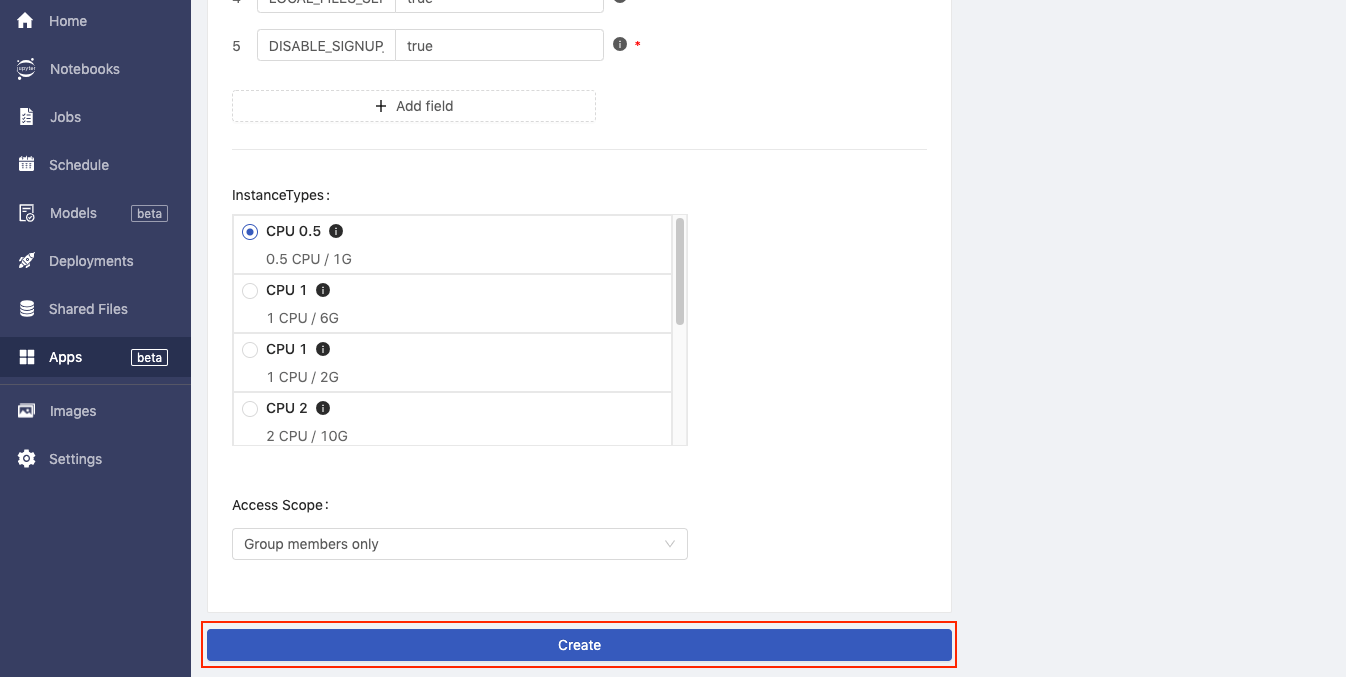
- The
Label Studioapp is installed successfully.
- Click
Use Label Studio to label data
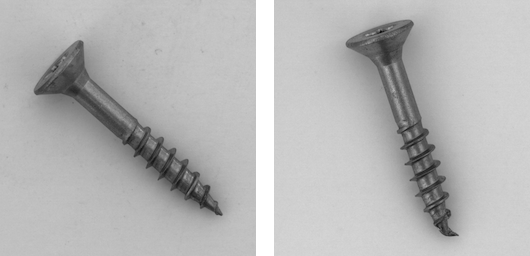
We will use the good/bad screw images as our dataset (the screw images are collected from MVTEC AD).
The example image on the left side is the good screw; and the example image on the right side is the bad screw since you can see there is a manipulated front.
Go to Notebooks tab in the PrimeHub UI to start a notebook server.
- Choose
Instance Type: CPU 1 (CPU: 1 / Memory: 3G/ GPU: 0) - Choose
Image: TensorFlow 2.4.1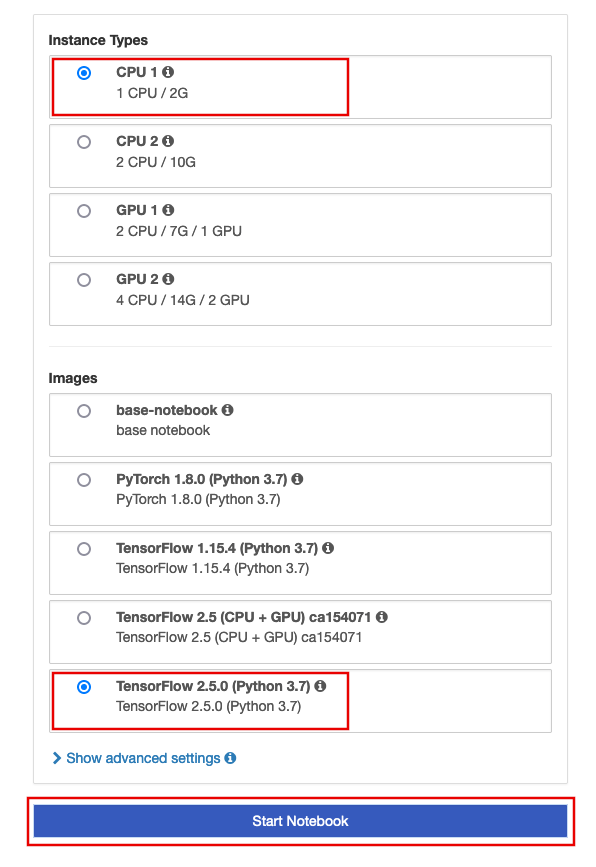
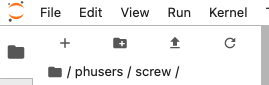
After went into the notebook environment, now create a folder screw under our group shared volume ~/<group_name>/. In this tutorial, the <group_name> is phusers.
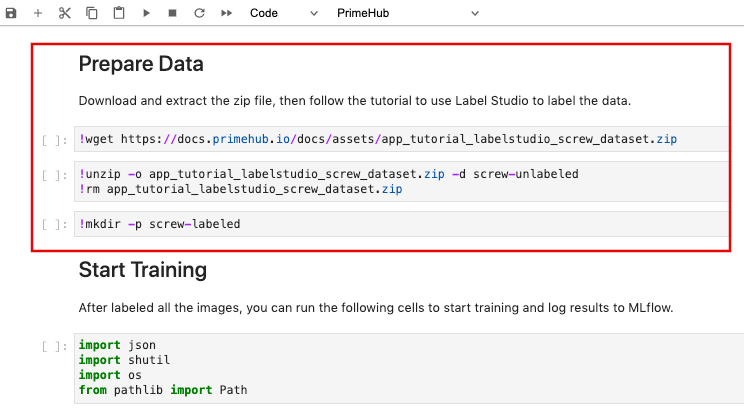
Next, download tutorial_screw_train.ipynb and upload it to ~/<group_name>/phusers.
Run the Prepare Data section in the notebook file to download all necessary data.
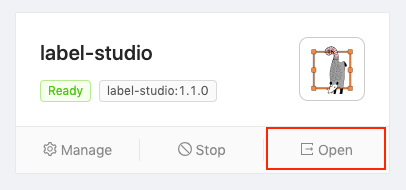
Back to PrimeHub UI and go to Apps page, we can open the Label Studio UI by clicking Open.
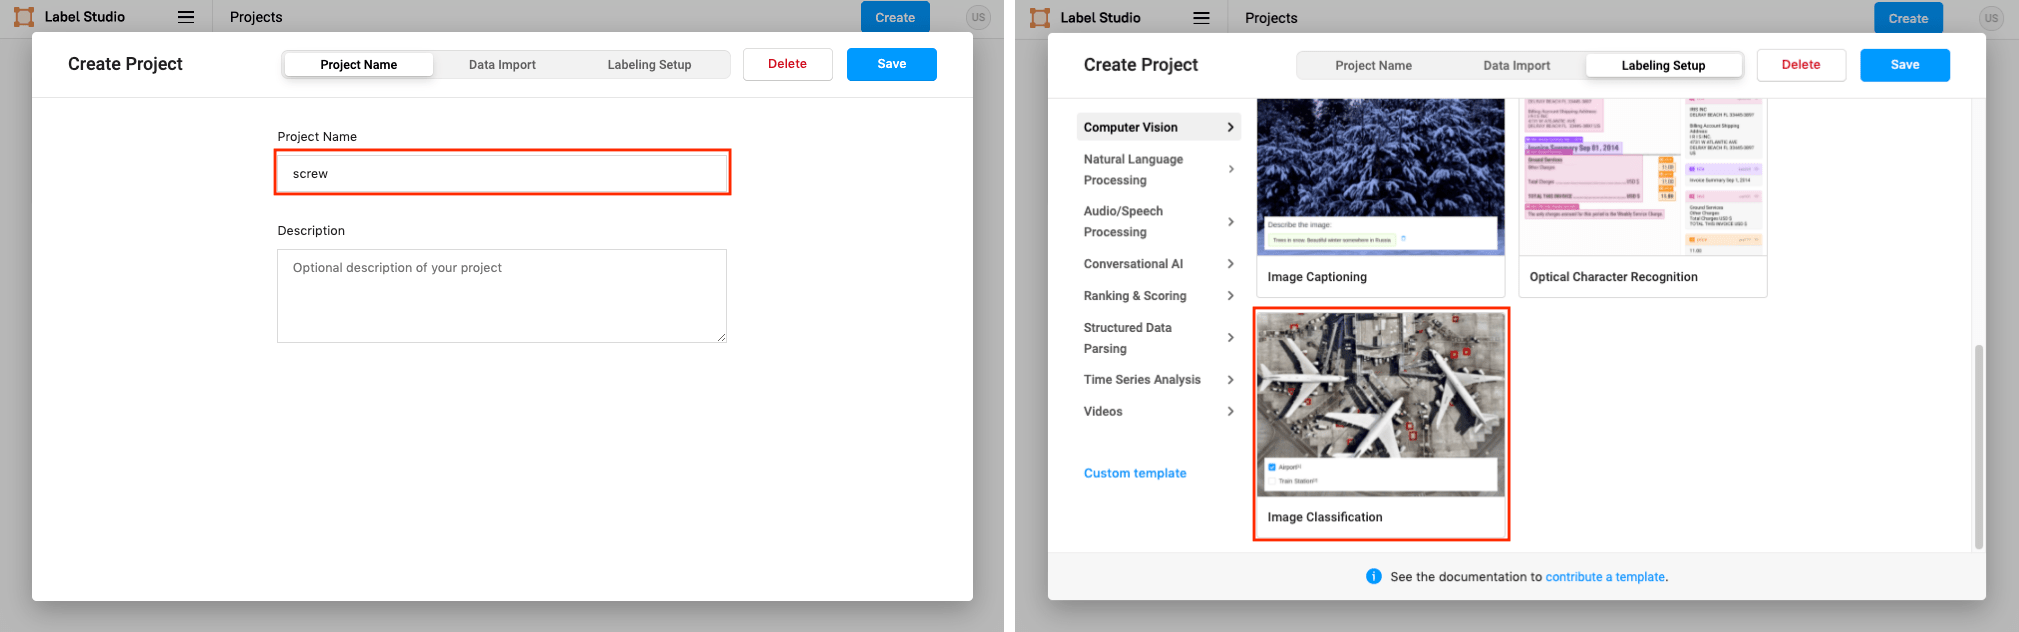
Click Create button to create a new project.

Enter project name screw. Skip the Data Import step. In the Labeling Setup, we choose Image Classification.
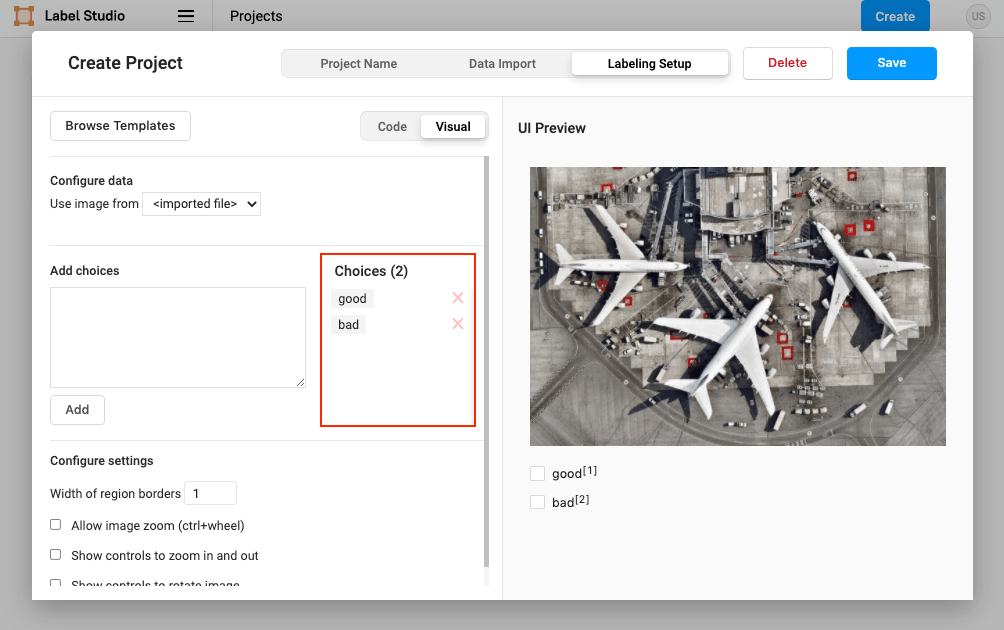
Delete the original choices and add our own label classes: good, bad, then click Save to create the project.
Every group members can access the Group Shared Volume, and it is also accessible in the PrimeHub App. Since we installed the Label Studio by PrimeHub App, we can start to sync the data between Group Shared Volume and Label Studio.
Go to Settings -> Cloud Storage to set up Source and Target storages.
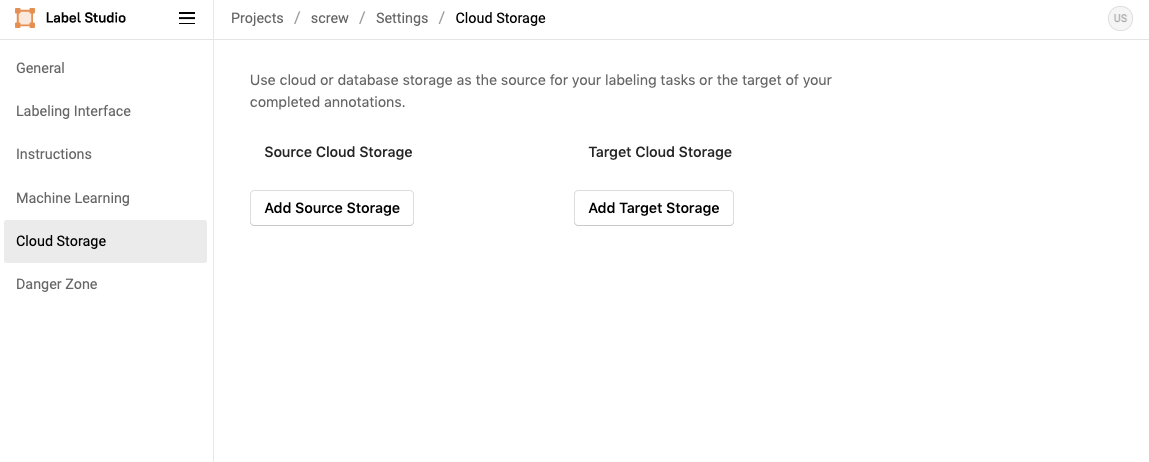
Click Add Source Storage to configure following settings, then click Add Storage -> Sync Storage.
- Storage Type:
Local files - Storage Title:
screw - Absolute local path:
/project/<group_name>/screw/screw-unlabeled(in this tutorial, the<group_name>isphusers). - File Filter Regex:
.*png - Turn on toggle of
Treat every bucket object as a source file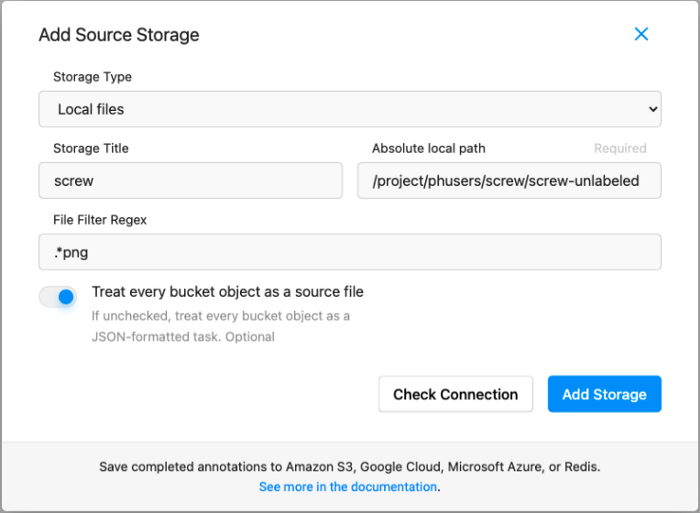
Click Add Target Storage and configure following settings, then click Add Storage.
- Storage Type:
Local files - Storage Title:
screw-labeled - Absolute local path:
/project/<group_name>/screw/screw-labeled(in this tutorial, the<group_name>isphusers).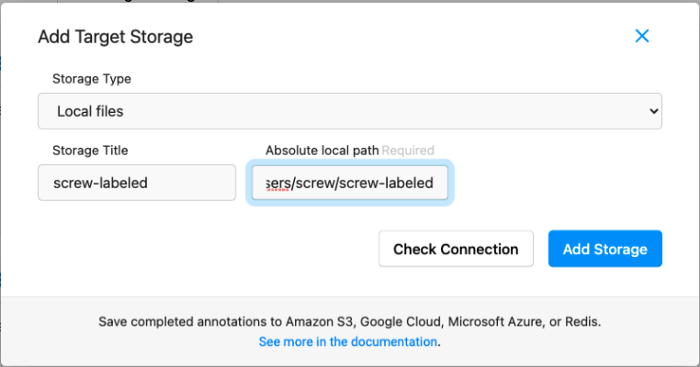
After added storage, now we can go back to the project view in Label Studio. Click Label to start labeling.

We can type keyboard numbers (good: 1; bad: 2) to select the class or click the checkbox directly. Click Submit to confirm the selected class.
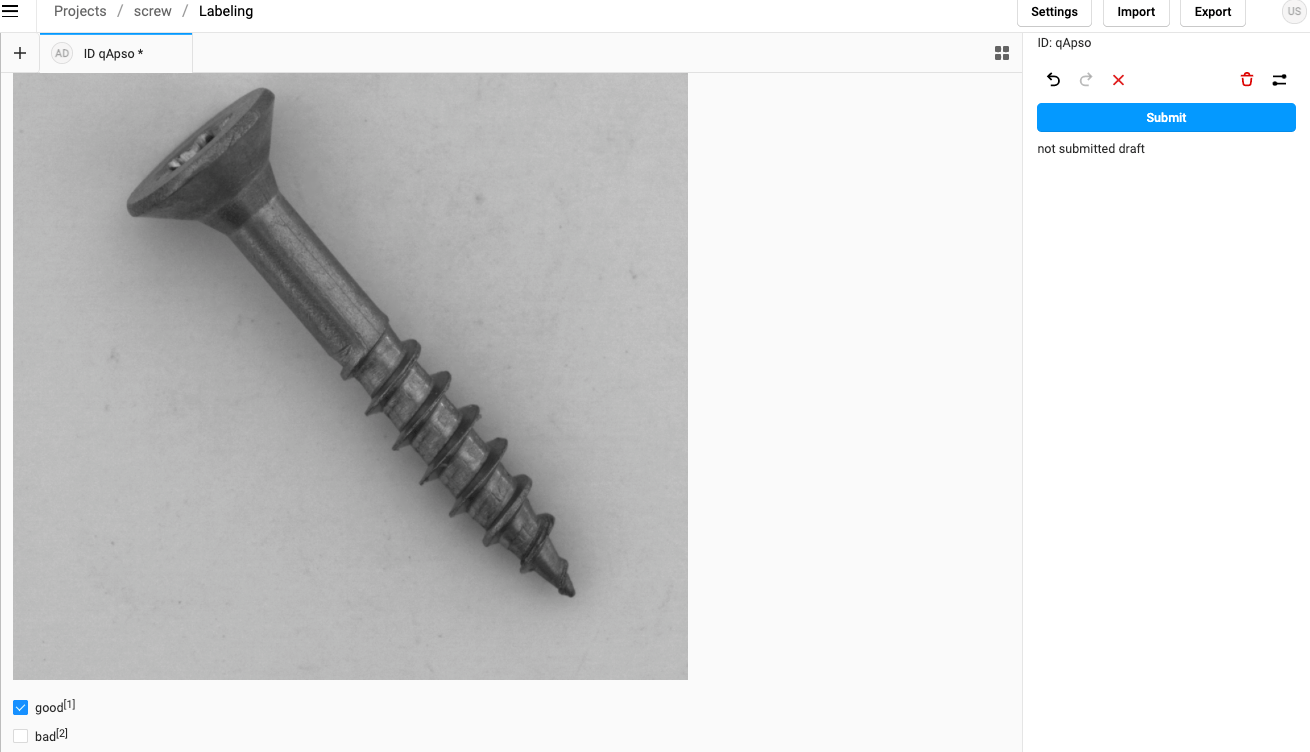
Successfully labeled all the screw images!

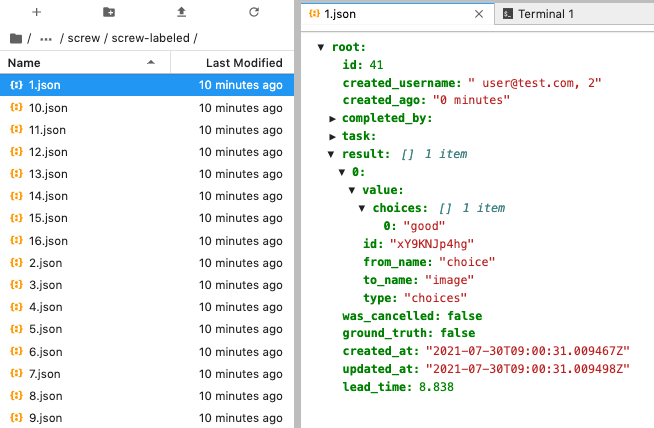
All the labeled results are saved in JSON format and located under ~/<group_name>/screw/screw-labeled.
In the next tutorial, we will organize the labeled data into the format that we can continue to train a good/bad screw classifier.