2 - Train and Tune the Model
In this tutorial, we will organize the labeled data and feed into the model in PrimeHub Notebooks. Also, we will make our notebook as a repeatable job to perform parameters tuning.
What we need?
Install MLflow in
PrimeHub Apps.- Click
Install to PrimeHubinMLflow.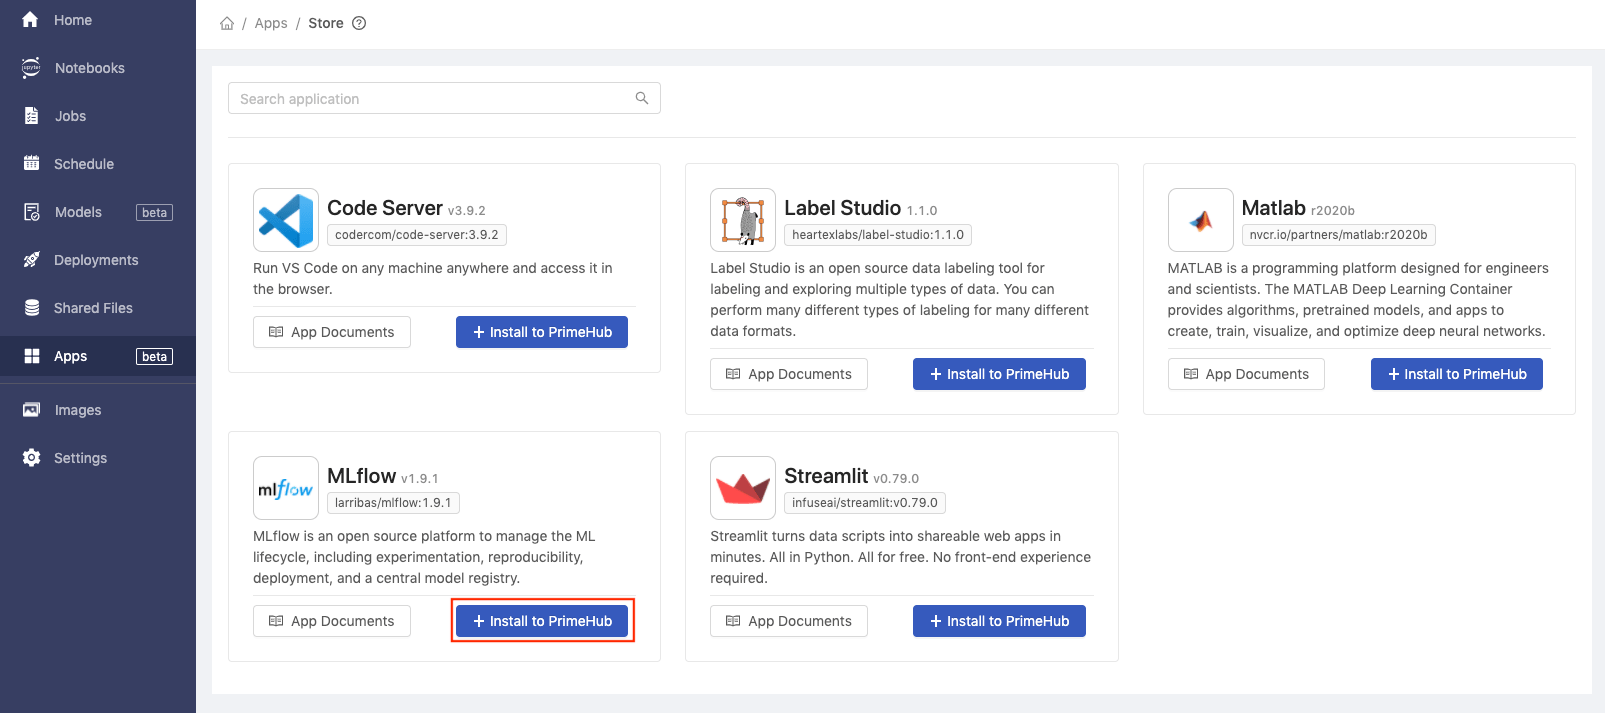
- Fill in
Namewithmlflow.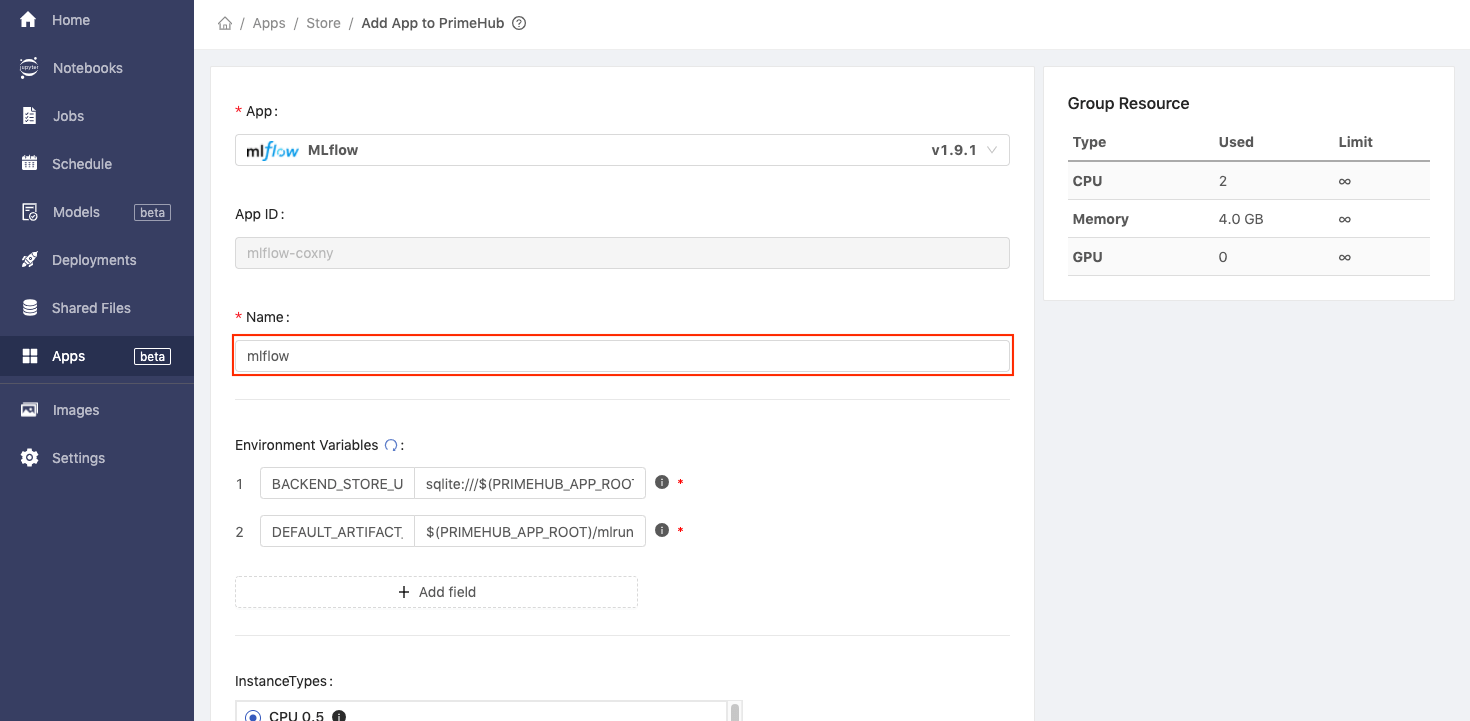
- Click
Createbutton.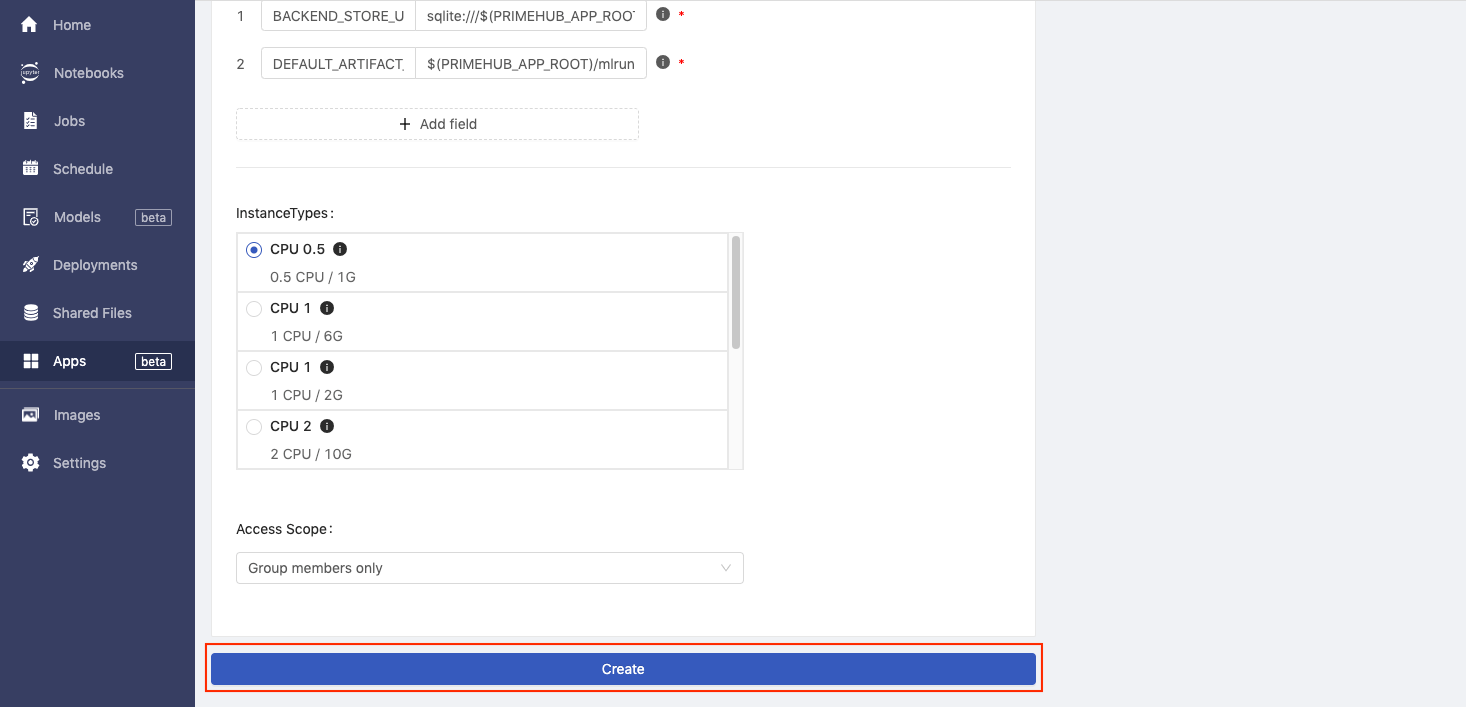
- The
MLflowapp is installed successfully.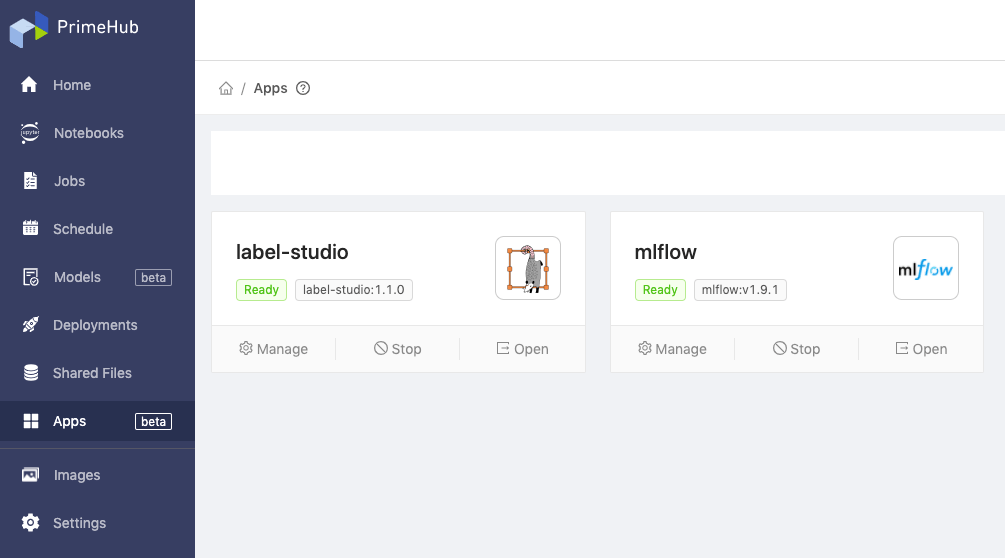
- Click
Configure
MLflowapp in your group to keep track of experiments/runs.- Click
Managethen go to the detail page ofMLflowapp.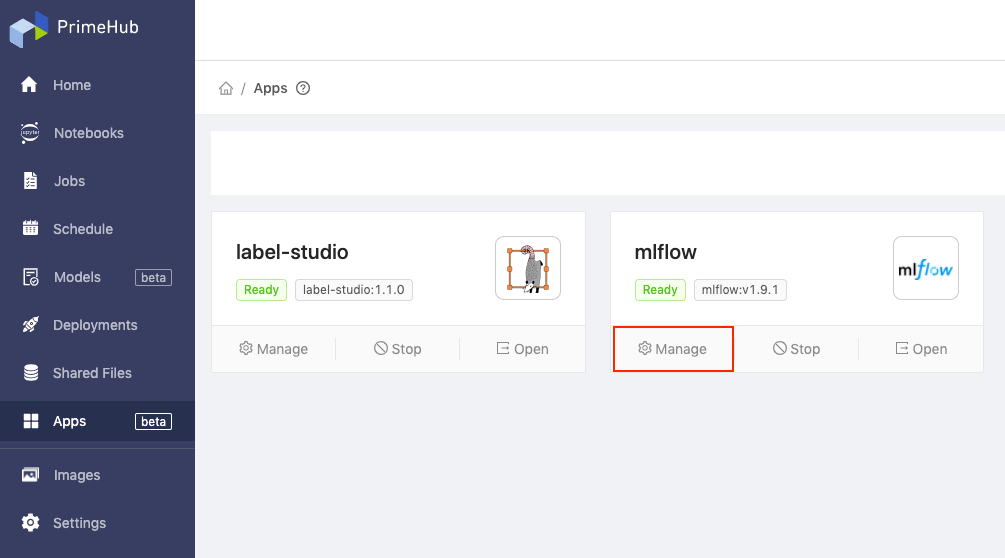
- Copy the values of
App URLandService Endpoints.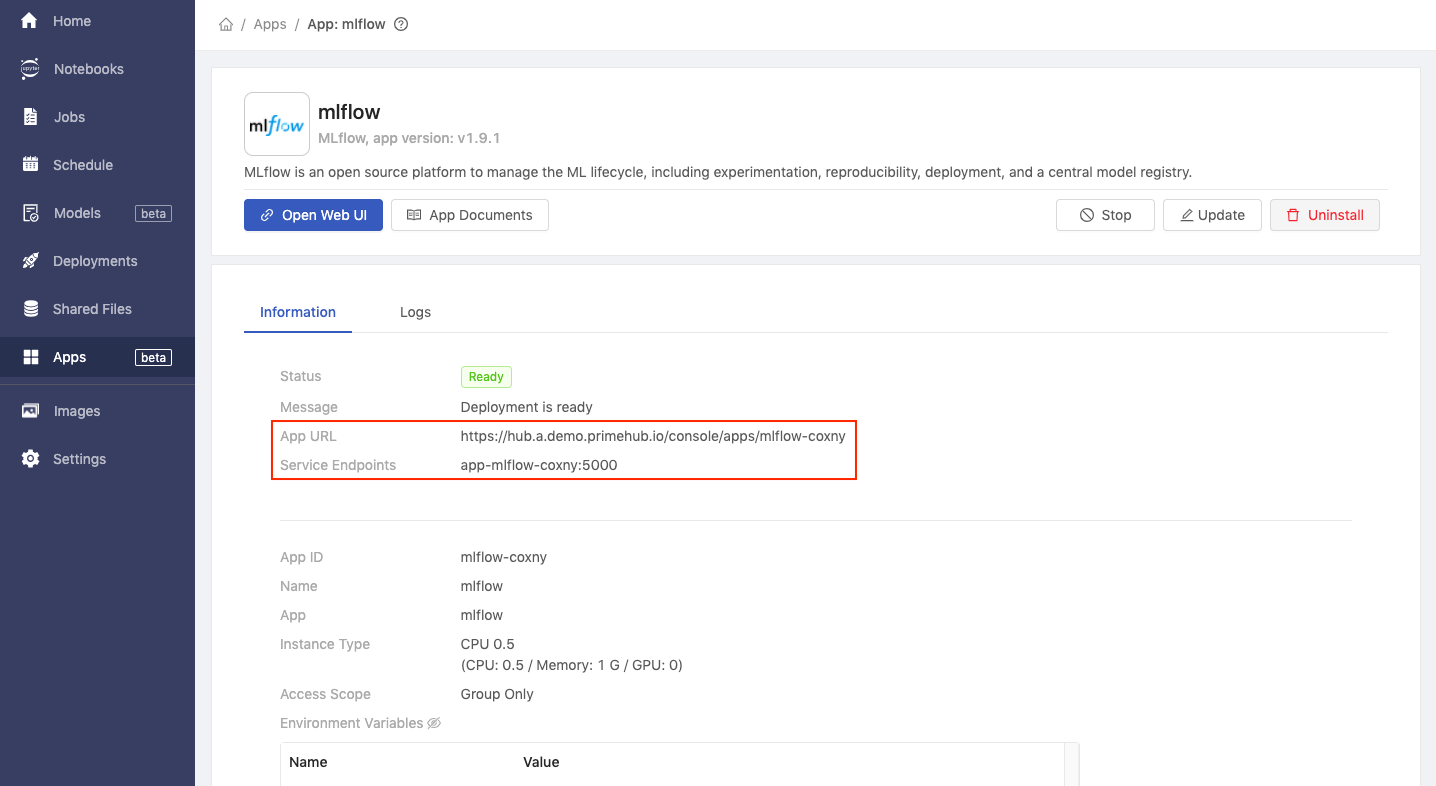
- Click
Settingsin sidebar menu and advance toMLflowtab.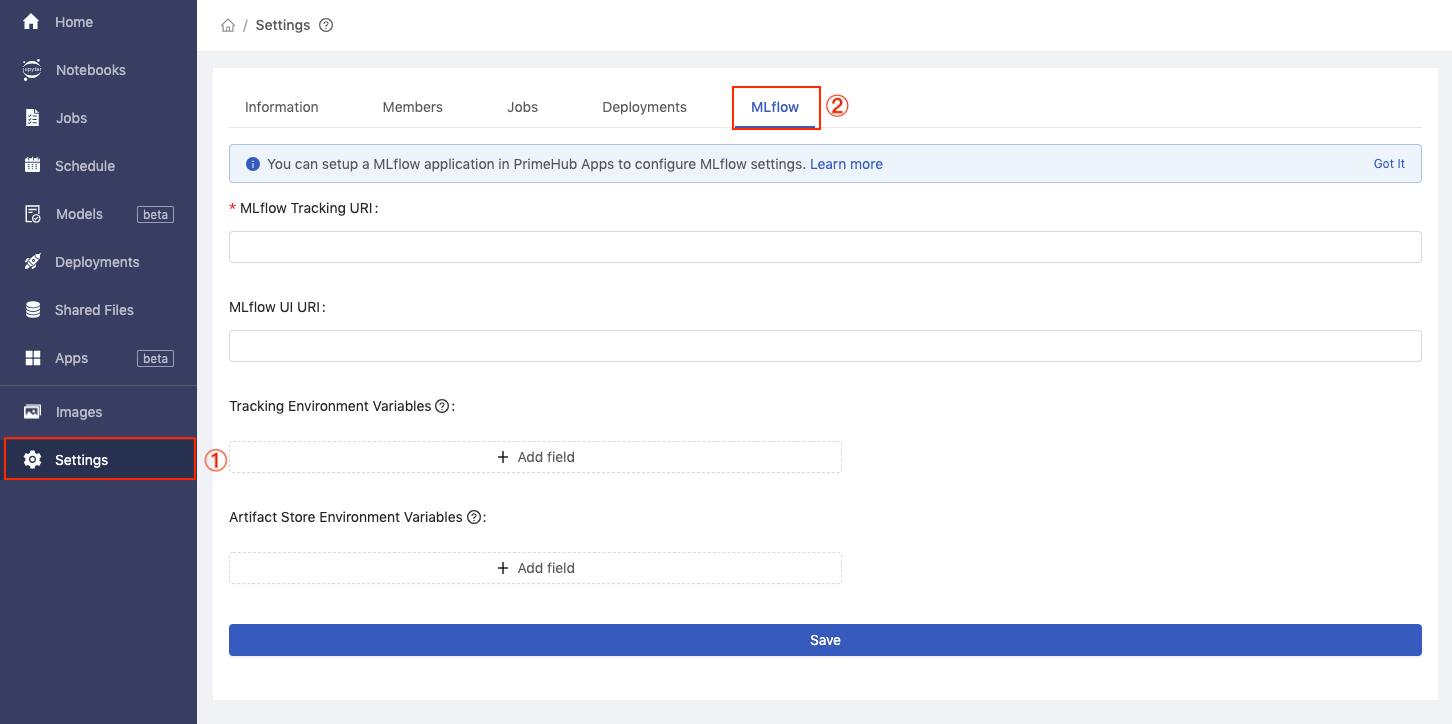
- Fill in
MLflow Tracking URIwithhttp://+Service Endpoints, and fill inMLflow UI URIwithApp URL, then clickSave.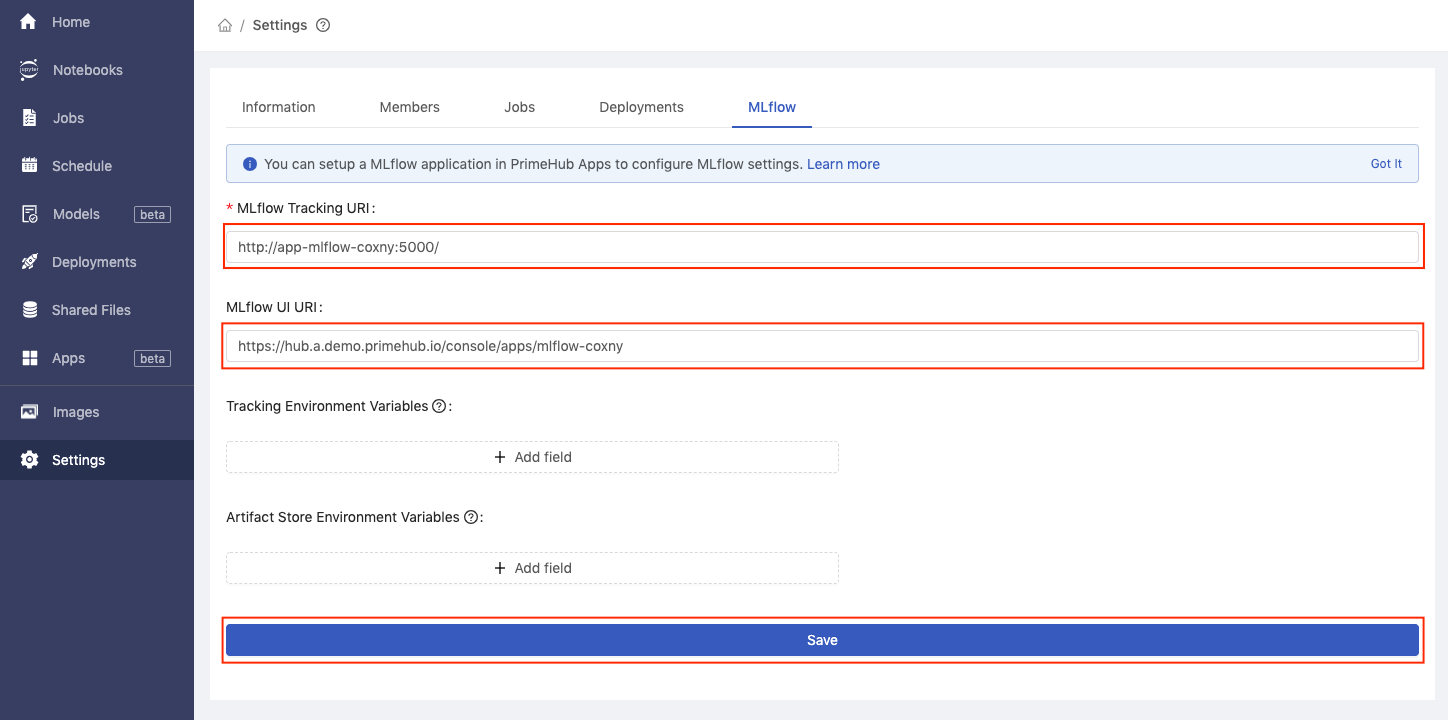
- Click
Train the Model
Now we can run all cells after Start Training section.
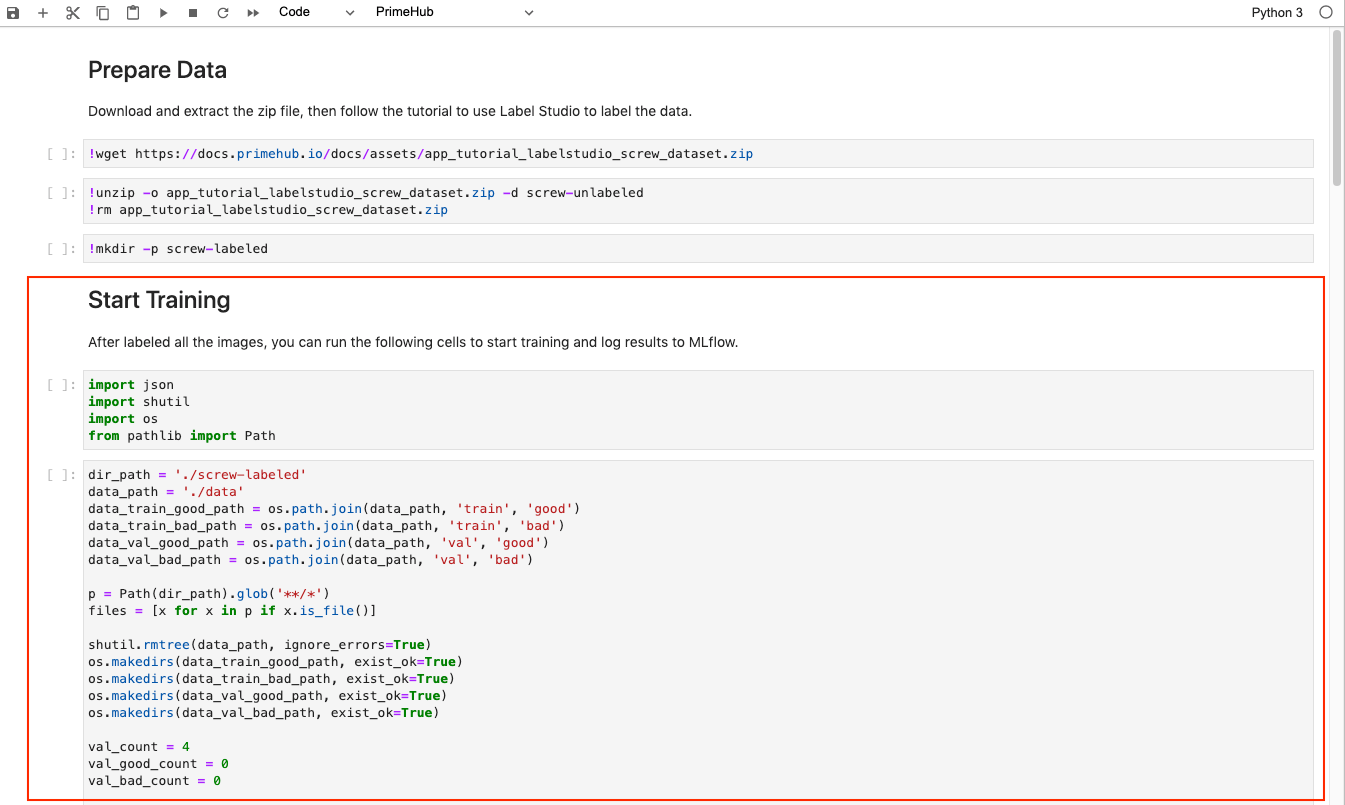
It will parse the JSON content and put all the images into the folder ~/<group_name>/screw in the following structure:
data/train/good: Good screw images as the training datasetdata/train/bad: Bad screw images as the training datasetdata/val/good: Good screw images as the validation datasetdata/val/bad: Bad screw images as the validation dataset
Also, we set the experiment name with tutorial_screw_train and enable MLflow autologging API to automatically export our execution to MLflow app for experiment tracking.

We can see that achieved around 88% of validation accuracy after training.

Send Notebook as Job for Parameter Tuning
Now, we have a runnable notebook to train the screw classification model.
Next, we can access PrimeHub Notebook Extension to submit our notebook as job to perform parameters tuning.
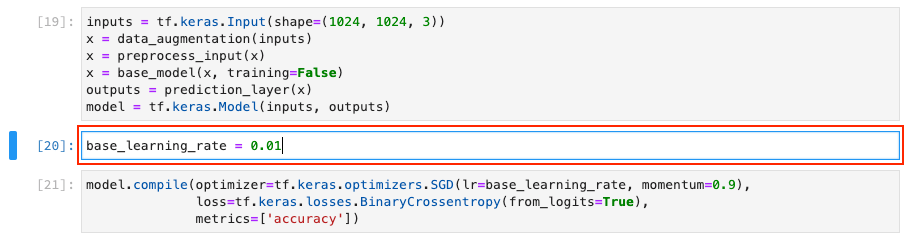
Let's configure the learning rate to see how model accuracy can be better!
Click cell 20 with default base_learning_rate configured.
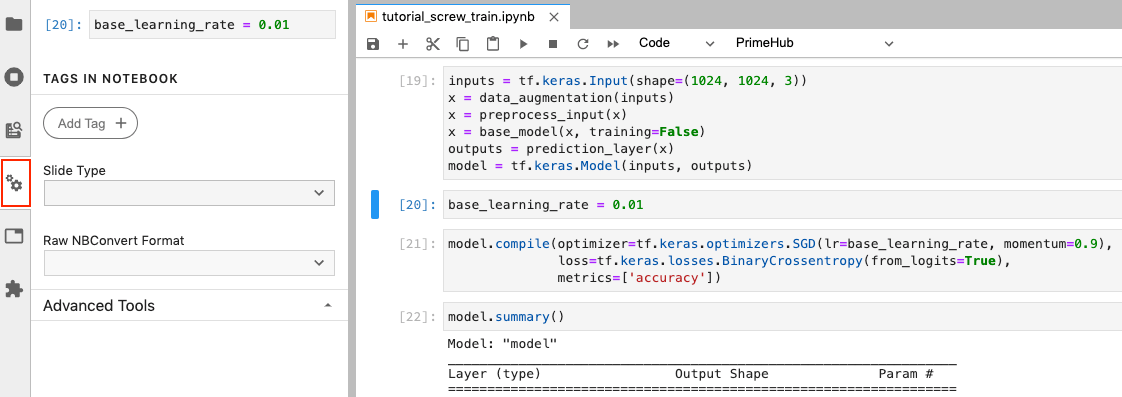
Click Property Inspector button.
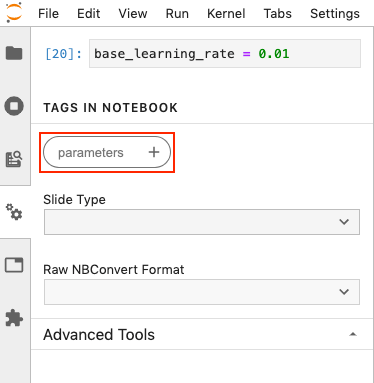
Click Add Tag, fill in parameters, and click + icon. This makes the input parameters to overwrite the base_learning_rate.
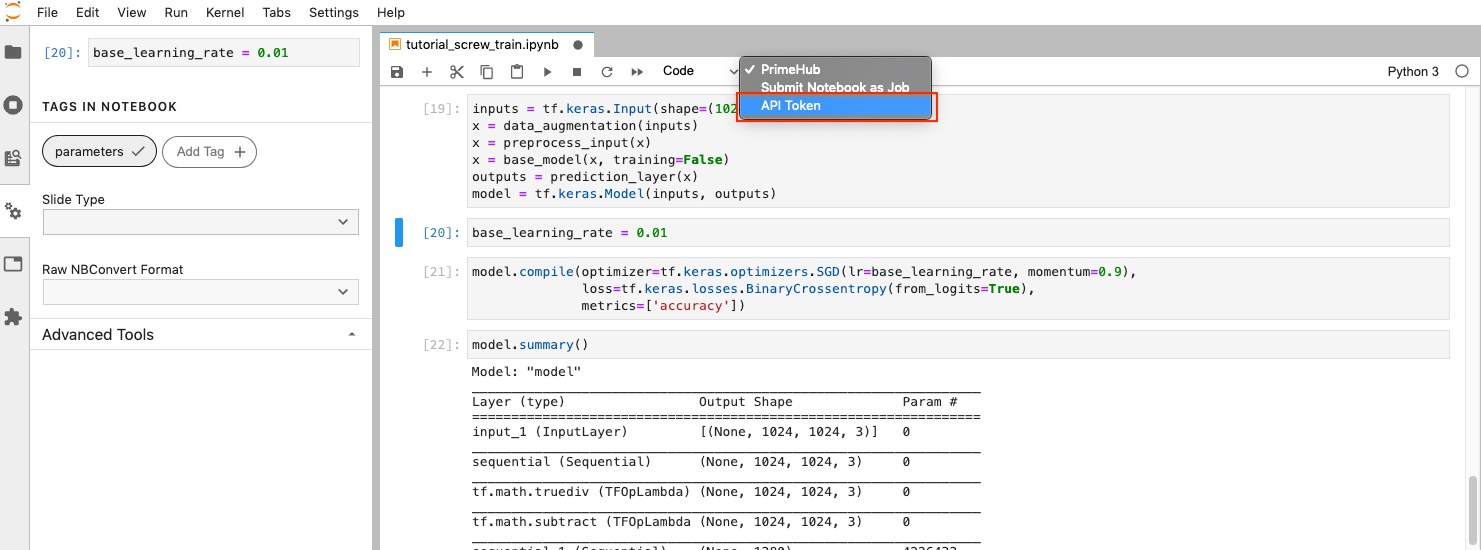
To submit notebook as job, we need to setup API Token at first.
Click on PrimeHub button to expand extension menu, then click API Token.
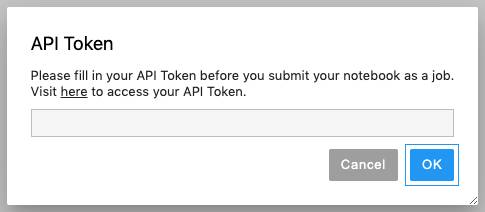
In the pop-up dialog, click here to access API Token page.
In the API Token page, click Request API Token.

After the token displayed, click Copy to store our token value.

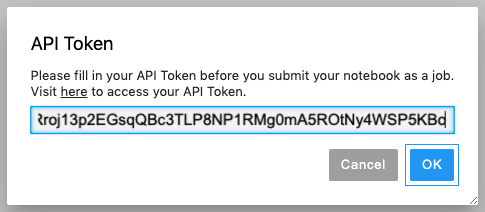
Back to notebooks, click on PrimeHub button and select API Token again.
We can paste our token value then click OK.
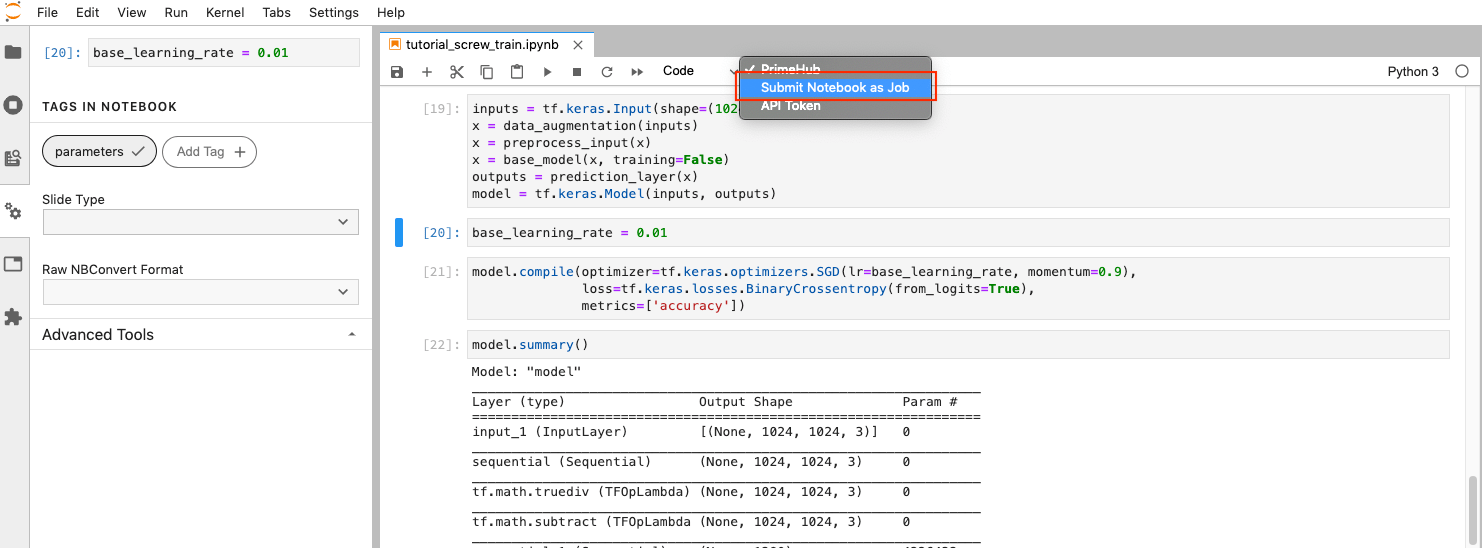
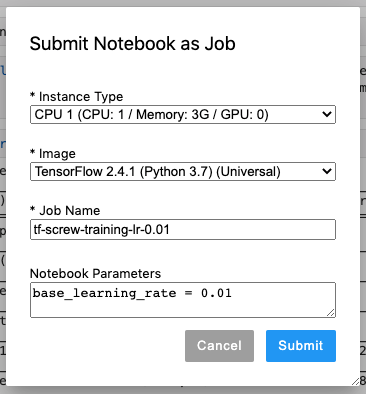
Next, click on PrimeHub button and select Submit Notebook as Job.
In the pop-up dialog, we can adjust instance type to gain more running resources, or we can adjust image to make notebook execution on different environment. Here is the settings:
- Instance Type: default value
- Image: default value
- Job Name:
tf-screw-training-lr-0.01. - Notebook Parameters:
base_learning_rate = 0.01
Click Submit to start training with base_learning_rate = 0.01.
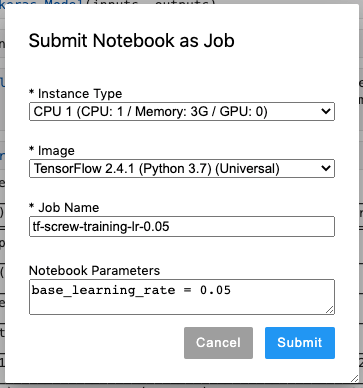
Again, click PrimeHub button and select Submit Notebook as Job. Let's submit another training with base_learning_rate = 0.05 with following settings:
- Instance Type: default value
- Image: default value
- Job Name:
tf-screw-training-lr-0.05. - Notebook Parameters:
base_learning_rate = 0.05
Back to PrimeHub UI and go to PrimeHub Jobs, our two submitted jobs are succeeded! The respective notebook training results will be automatically exported to MLflow app.
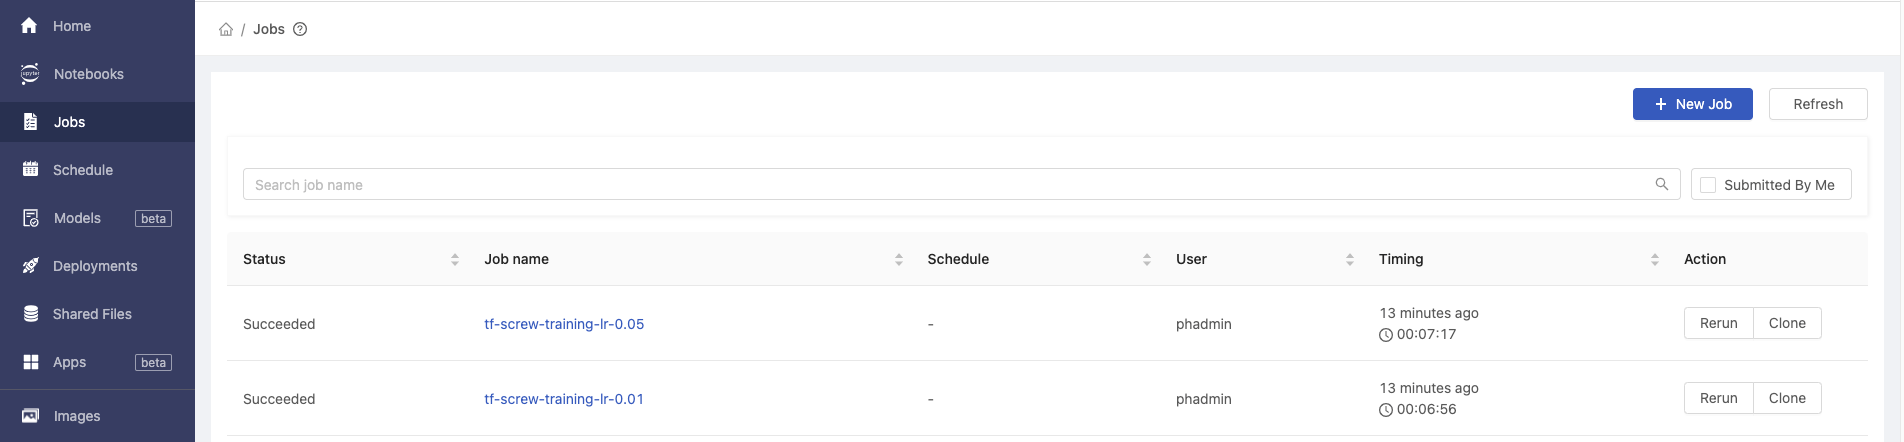
In the next tutorial, we will analyze these two training results, manage trained models, and deploy the best model to cloud environment.