Build Image
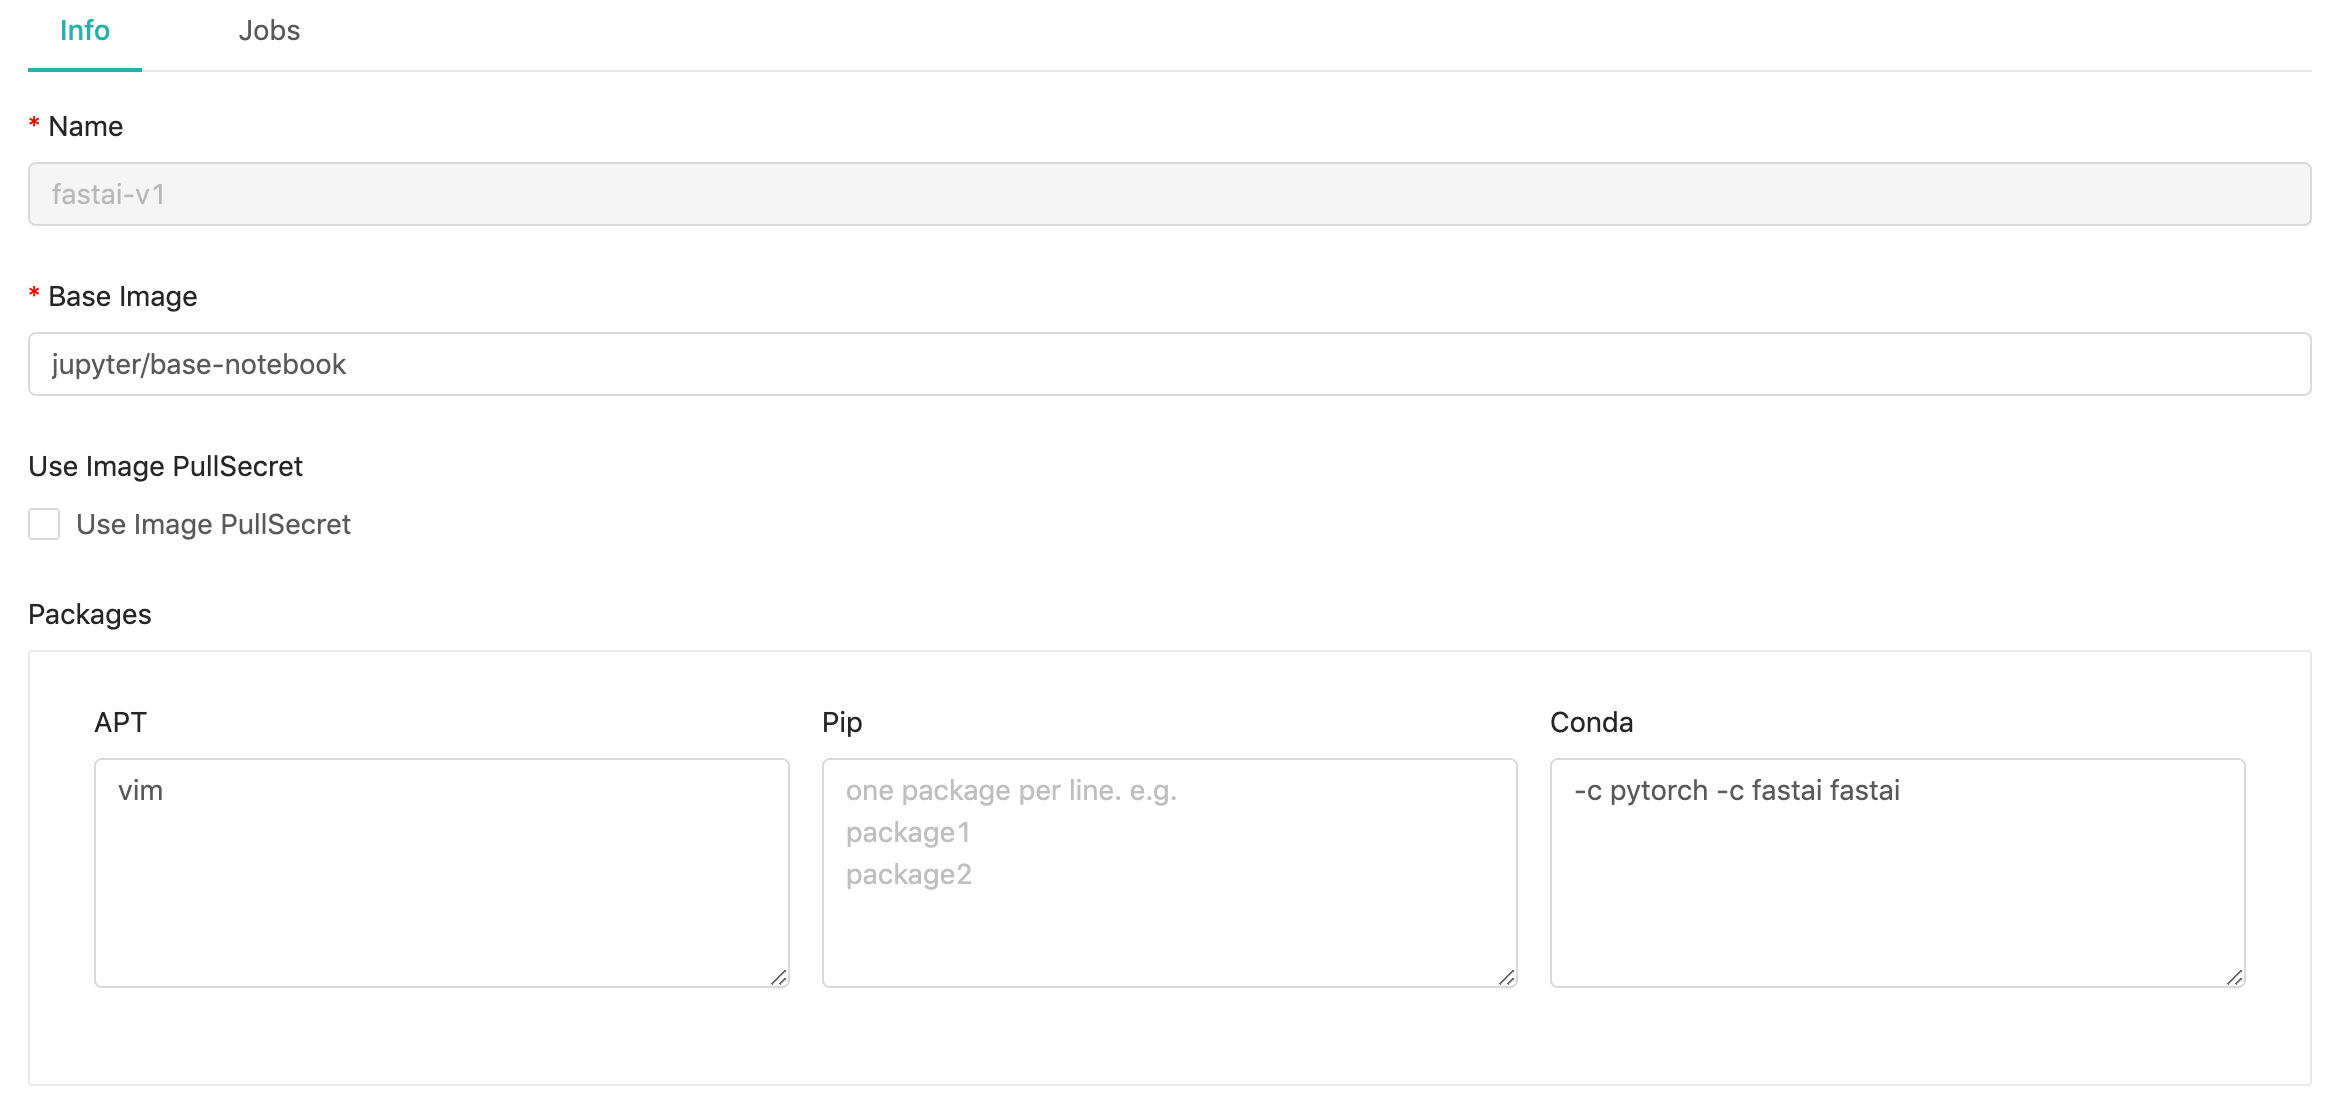
This quickstart shows how to build a custom image by the feature of Image Builder. Here we are going to build an image with fastai v1 library for PyTorch provided by Fast.ai based on the Jupyter base-notebook. Fast.ai is a well-known for free online A.I. courses, please check its site if any interest.
Steps
Log in as an administrator and switch to Admin Portal.
Enter
Image Buildermanagement and click+ Addfor adding a custom image spec.Fill
Namewithfastai-v1(or other name you like).Fill
Base Imagewithjupyter/base-notebook.Don't check off
Use Image PullSecret, a pull-secret is unnecessary since it is a public repository.Fill
Condafield with-c pytorch -c fastai fastai[REF](Due to the full command is
conda install -c pytorch -c fastai fastai).(Optional) Fill
APTfield withvim(or other tools).(Due to base image is
Ubuntubase,APTis its package management tool.)Click
Confirmto save the custom image spec.
A job is created with the pending status until the image-build job is triggered.
Once the status of job turns into
Succeeded, we can copy the url of image for adding the image later onImagesmanagement so that users are able to use this image with built-in fastai v1 library. (The url varies according to your circumstance.)
Alright, we have built our image successfully and gain the url of it. Go to [quickstart] add image to see how we add the image to be available for users on PrimeHub.
Next
When we add images or assign base images, pulling these images may require secrets to have the permission. Next, let's try to add these secrets on Secret Management.