1 - Label Data
Data labeling is a critical part of model development for machine learning. By using a well defined dataset, data scientists are able to train effective models.
In this tutorial, we will be using Label Studio, an open source data labeling tool, to label data and train a model. The aim of our model will be to detect a good or bad example of a screw from a given photograph.
Label Studio is available as part of PrimeHub Apps, a convenient way to integrate 3rd-party apps into your ML Workflow.

Prerequisites
First, let's enable a shared volume for storage, and install Label Studio.
Enable Shared Volume
For the purposes of this tutorial, the group name will be phusers.
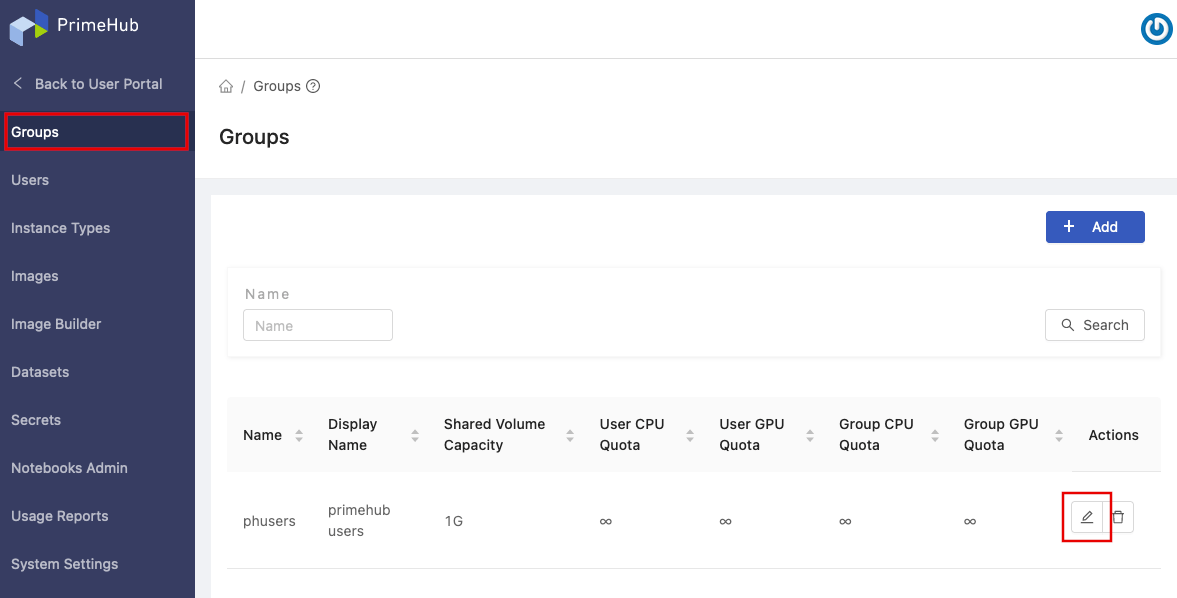
In the Admin Portal left sidebar, click Groups and find the phusers group. Click the pencil icon in the Actions column to edit the group.
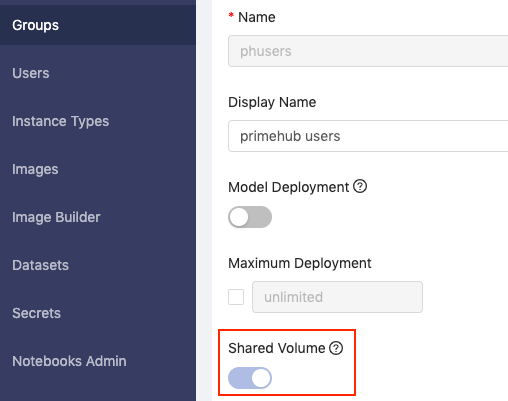
Click the Shared Volume toggle to enable it, and then click the Confirm button to save your changes.
Install Label Studio
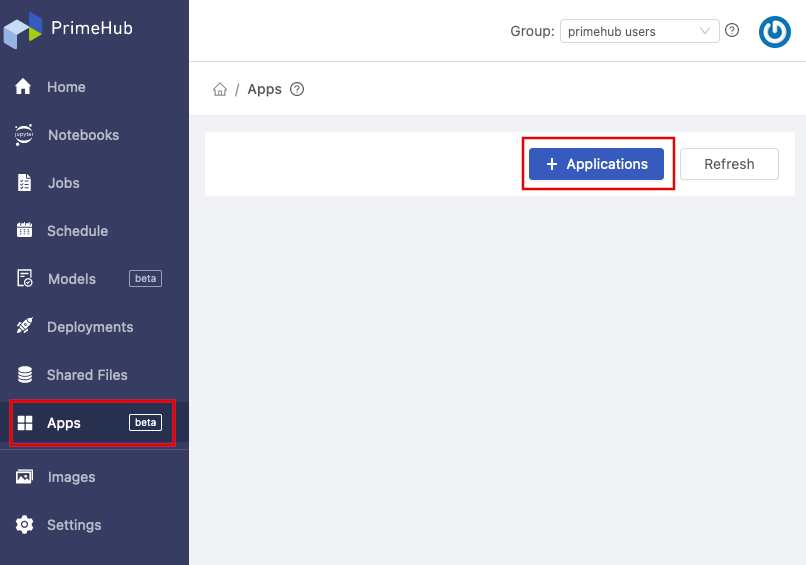
In the User Portal, click Apps in the left sidebar, and then click the + Applications button.
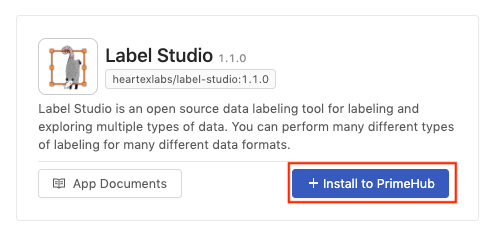
Find the Label Studio app and click + Install to PrimeHub.
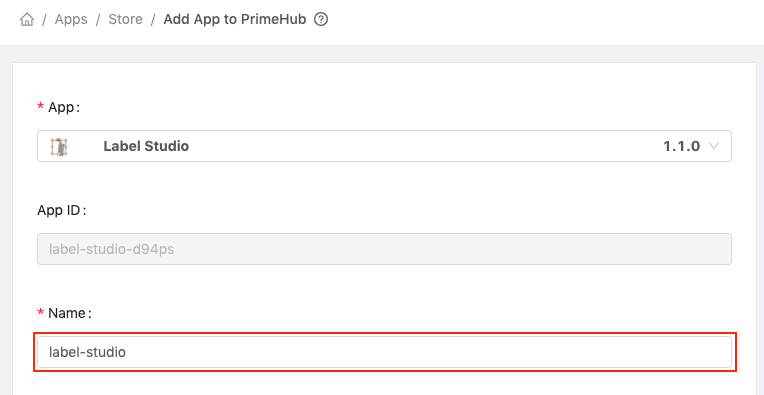
In the Name field enter "label-studio".
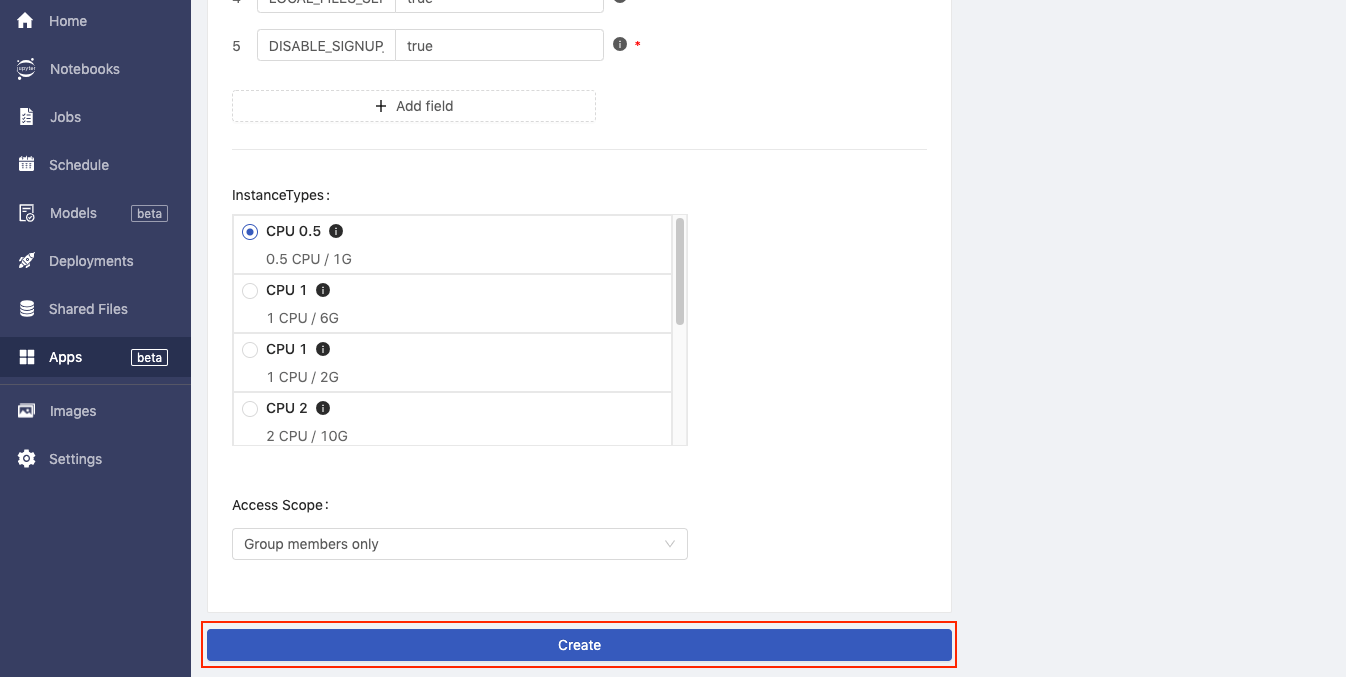
Click the Create button to install the app.
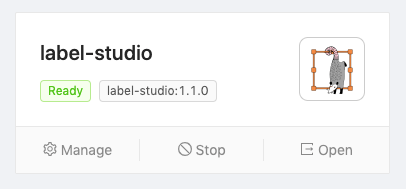
When Label Studio has finished installing, you will see the green Ready label.
Start a Notebook Server
Before we can start using Label Studio, we first need to start a notebook server and prepare the data for this tutorial.
Notebook Server Settings
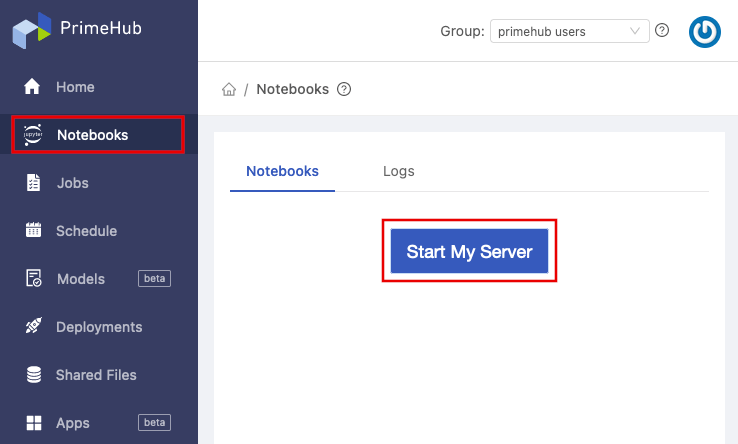
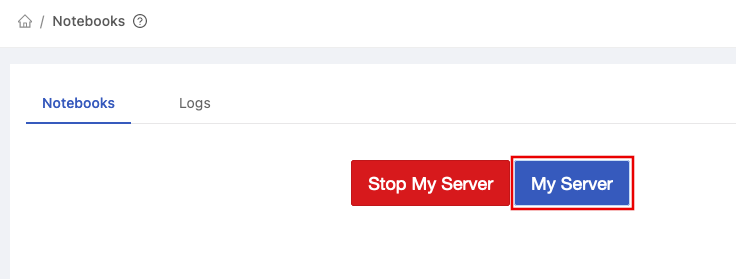
In the User Portal, click Notebooks in the left sidebar. Then, on the Notebooks page, click the Start My Server button.
Configure the server using the following settings:
- Instance Type: CPU 1 (1 CPU)
- Image: TensorFlow 2.5 (or higher)
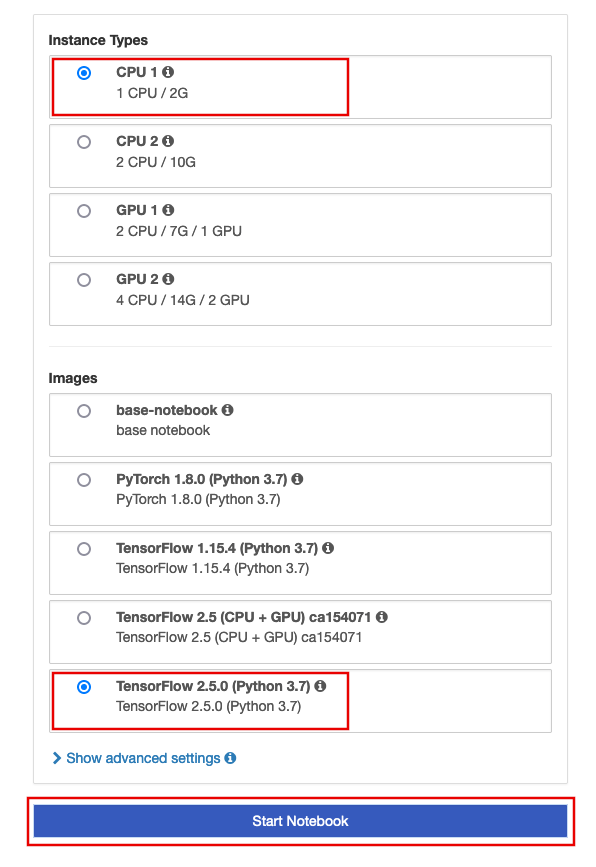
After selecting an Instance Type and Image, click the Start Notebook button to start the server.
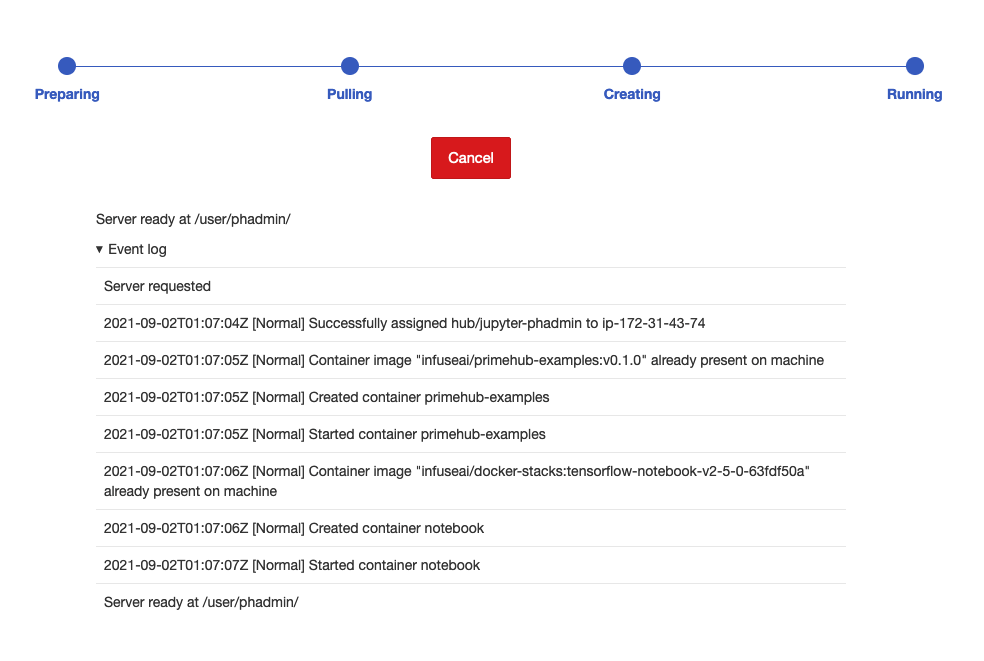
If this is your first time starting a server, it may take a minute to pull the image before starting the server.
Prepare Data (Jupyter Notebook)
After the Notebook server has started, click the My Server button to open Jupyter Notebook.
In Jupyter Notebook, create a folder named screw in your group's shared volume. The group name for this tutorial is phusers, so the path to the new folder will be:
/phusers/screw
Double click the screw folder to enter it.
Download the tutorial script, tutorial_screw_train.ipynb, to your local computer, and then upload it to the newly created screw folder.
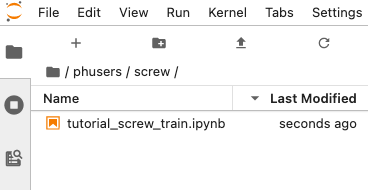
In the left sidebar, double click tutorial_screw_train.ipynb to open it.
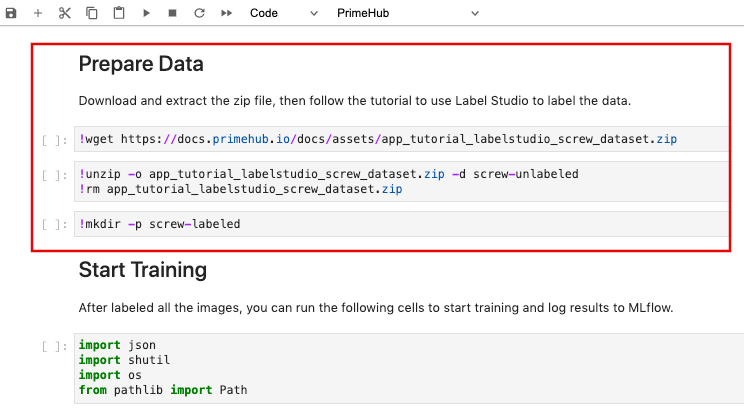
Run the steps in the Prepare Data section to download and prepare the data.
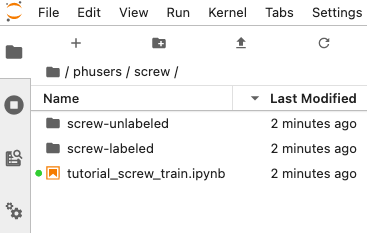
After the running the Prepare Data section, the screw folder should now contain two new folders:
- screw-unlabeled: Containing a series of png image files
- screw-labeled: An empty folder
Using Label Studio
Now that we have prepared our data, we can start the labelling process.
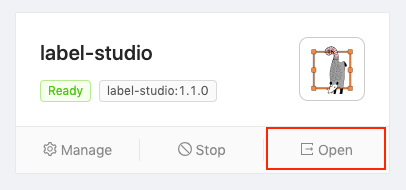
On the Apps page of the PrimeHub User Portal, click Open to start Label Studio (a new web browser tab will open).
If prompted to log in, the default credentials are:
- username:
<group_name>@infuseai.io - password:
<group_name>_password!
Substitute <group_name> with your group. The default group for this tutorial is phusers
Create Project
Click the Create button to create a new project.
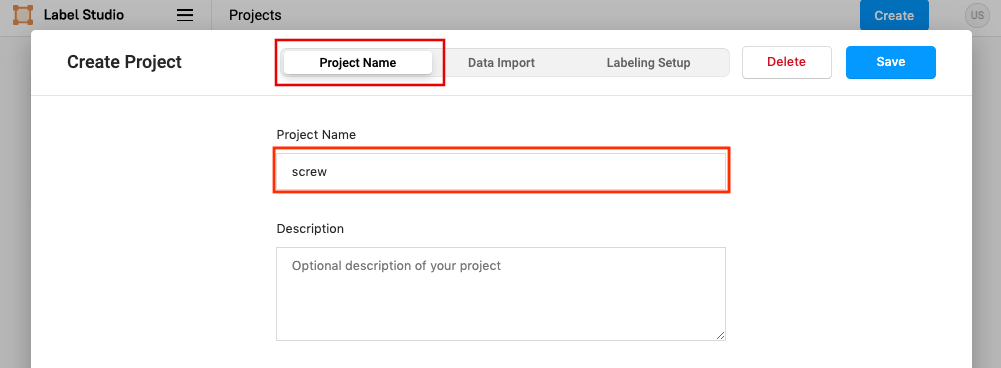
The Create Project screen has three horizontal tabs:
- Project name
- Data Import
- Labeling Setup
In the Project Name tab, enter screw as the Project Name.
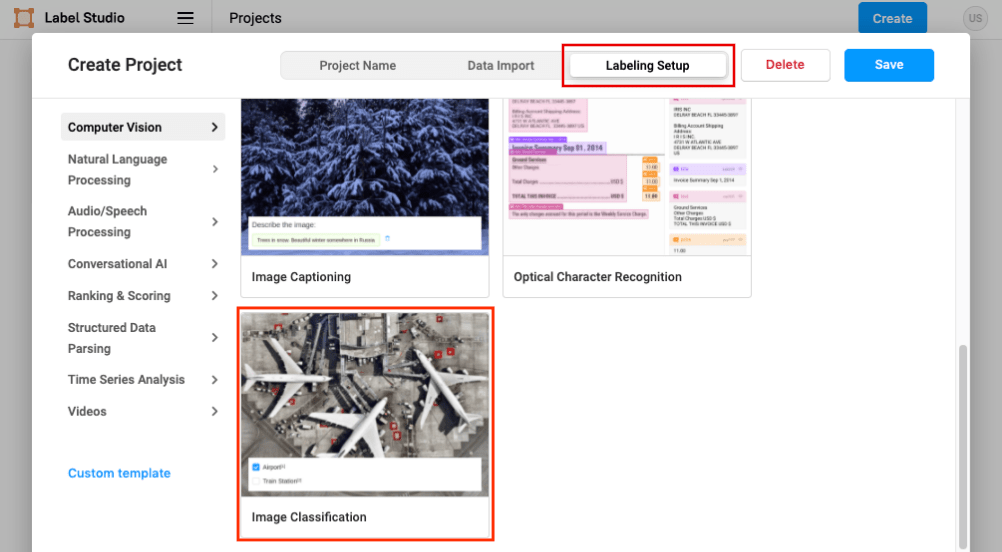
Then, click the Labeling Setup tab and click Image Classification. A new settings page will open.
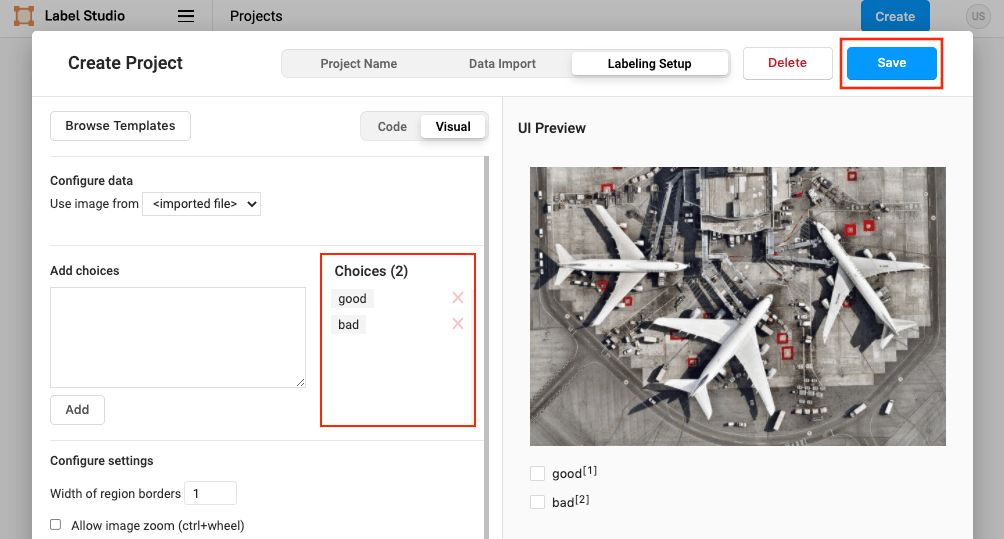
Delete the existing choices by clicking the red 'X'. In the Add Choices textarea, enter the following choices, one per line, then click the Add button.
- good
- bad
Click the Save button to create the project.
Add Storage
The shared volume we enabled earlier allows the sharing of data between PrimeHub and 3rd party apps. As such, we can configure Label Studio to access this shared volume.
Click the Settings button to open our new project's settings page.

Click Cloud Storage in the left sidebar. We will be configuring both Source and Target storage.
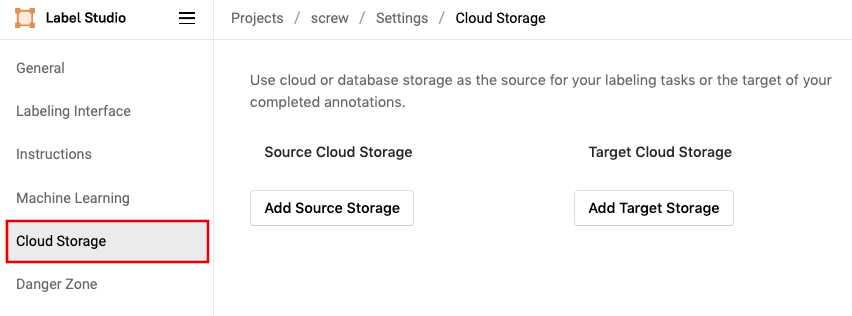
Add Source Storage
Click the Add Source Storage button and enter the following settings:
- Storage Type:
Local files - Storage Title:
screw - Absolute local path:
/project/<group_name>/screw/screw-unlabeledThe group name used in this tutorial is phusers - File Filter Regex:
.*png - Click the toggle to enable
Treat every bucket object as a source file
Click on Add Storage, then on the newly added storage click Sync Storage
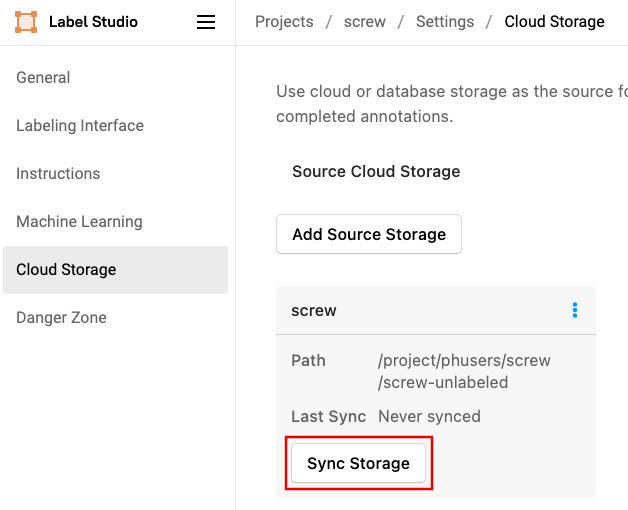
Don't forget to click Sync Storage to insure Label Studio can see the prepared data
Add Target Storage
Click the Add Target Storage button and enter the following settings:
- Storage Type:
Local files - Storage Title:
screw-labeled - Absolute local path:
/project/<group_name>/screw/screw-labeled
The group name used in this tutorial is phusers
Click Add Storage to finish adding target storage.
Check the Absolute local path carefully to avoid errors when adding storage
Start Labeling
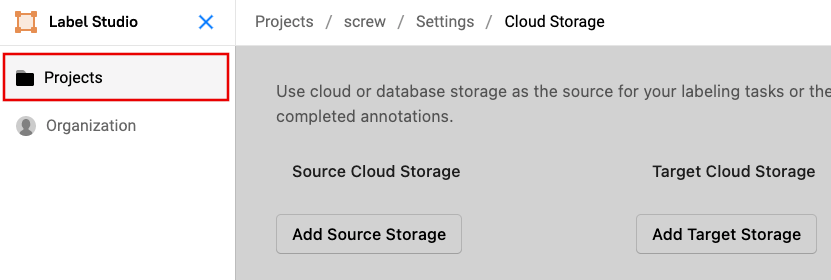
Click the Label Studio logo at the top left and then click Projects.
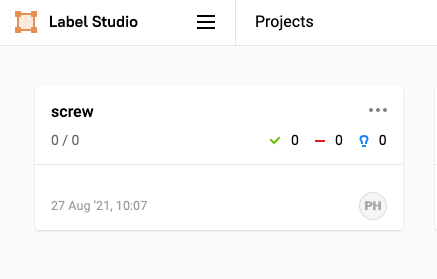
On the Projects page, click the newly created screw project.
In the screw project, click Label All Tasks to start labeling.

For each image click either the good or bad checkbox, or use the keyboard numbers 1 for good, or 2 for bad, and then click the Submit button to proceed to the next image.
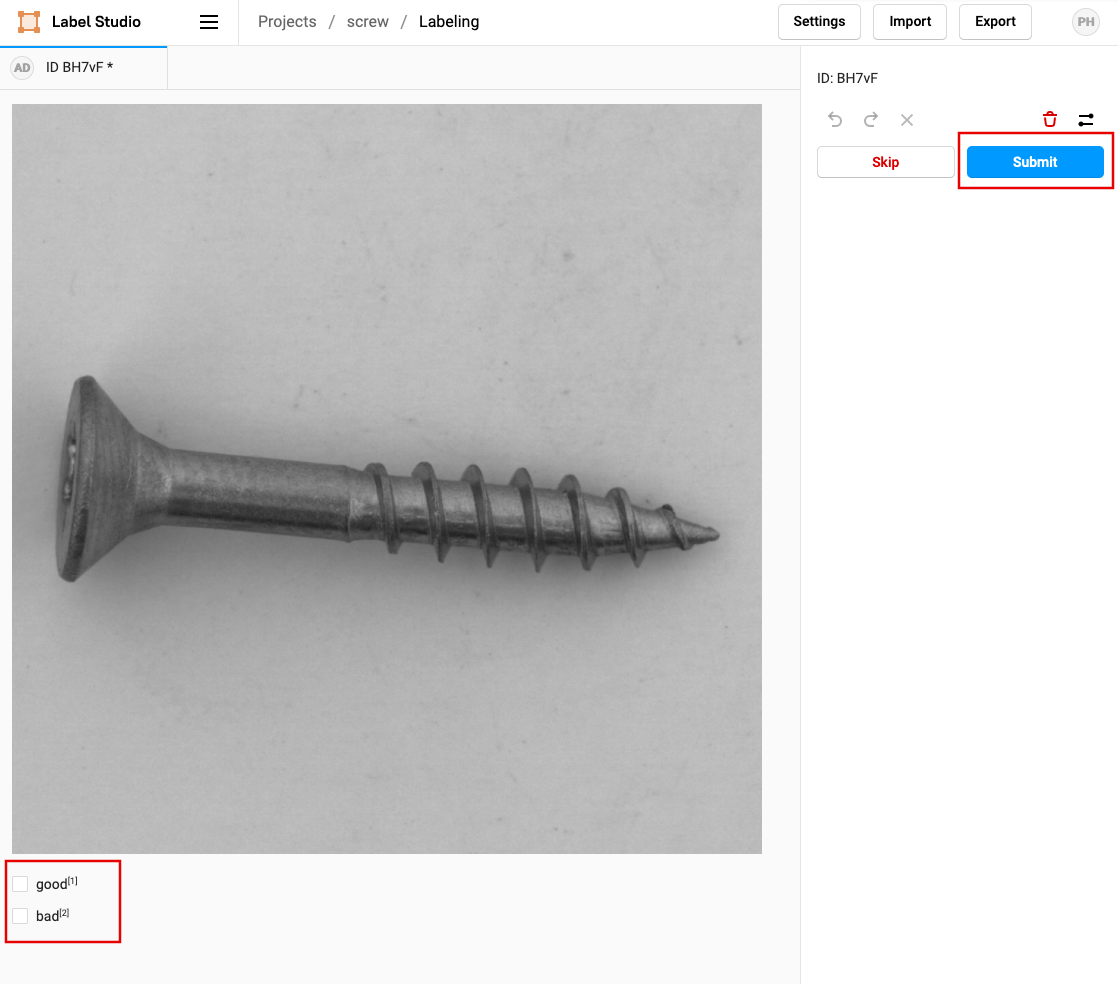
When all images have been labeled the message No more data available for labeling will be displayed.
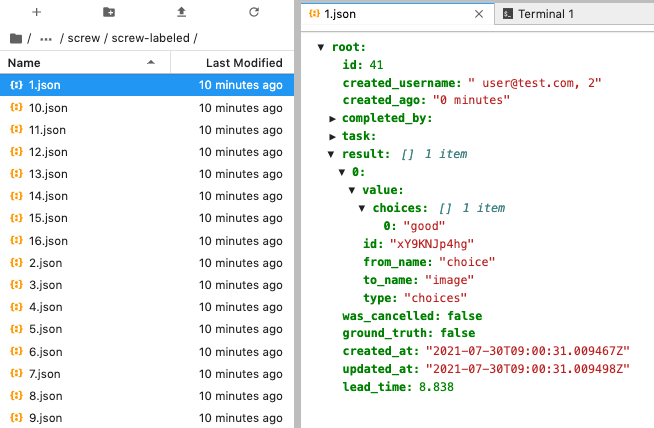
The results of the labeling are saved in JSON formatted files, and can be found in Jupyter Notebook in the screw-labeled folder we created earlier.
Conclusion
In this tutorial we have enabled a group volume, installed Label Studio via PrimeHub Apps, and used a Jupyter Notebook server to prepare data. We then synced the group volume with Label Studio, and labeled a set of images. Using the labeled dataset, we can move on to the next step.
In the next tutorial, we will create a notebook job to train the screw classification model, and adjust parameters to tune the accuracy.