3 - Manage, Compare, and Deploy the Model
In the previous tutorial we submitted two model training runs via Primehub Jobs. In this part, we will compare the results of these two runs. The run with the best performance will be registered in PrimeHub Models and then deployed as an online service via PrimeHub's Model Deployment feature.
Prerequisites
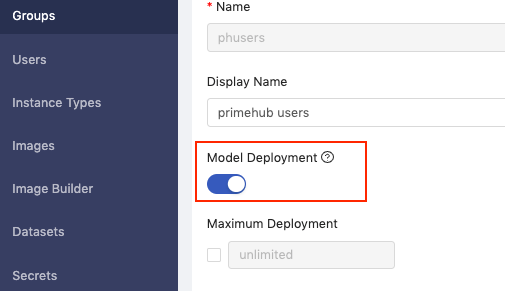
Enable Model Deployment
Before we get started, enable the Model Deployment toggle in your group settings.
Docker Account
A Docker account is required to follow the Customize Model Server Image section of this tutorial. If you don’t have an account you can set one up for free at Docker.
Model Management (Selecting the Best Model)
We will use MLflow to compare the results from our two jobs (referred to as runs in MLflow). As we have already connected PrimeHub to MLflow, the results from these two runs will be automatically available there.
In the User Portal, click Models in the left sidebar, then click the MLflow UI button. MLflow will open in a new tab.

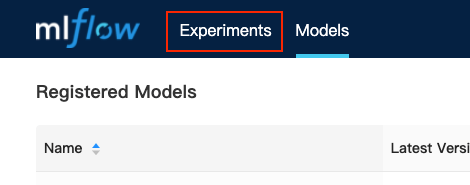
In MLflow, click the Experiments tab.
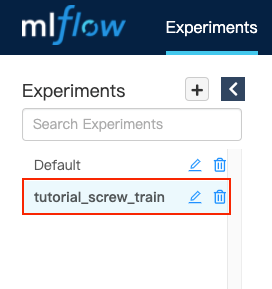
Click on our experiment tutorial_screw_train in the left sidebar.
Here we can see all runs for the tutorial_screw_train experiment.
Compare Run Results
To compare the results, click the checkbox next to each run to select them, and then click the Compare button.

The following page displays the parameters and metrics for each run in a comparison table.
Inspecting the accuracy and loss results for each run, we can see that a base_learning_rate (referred to in the table as opt_learning_rate) of 0.01 performs better.
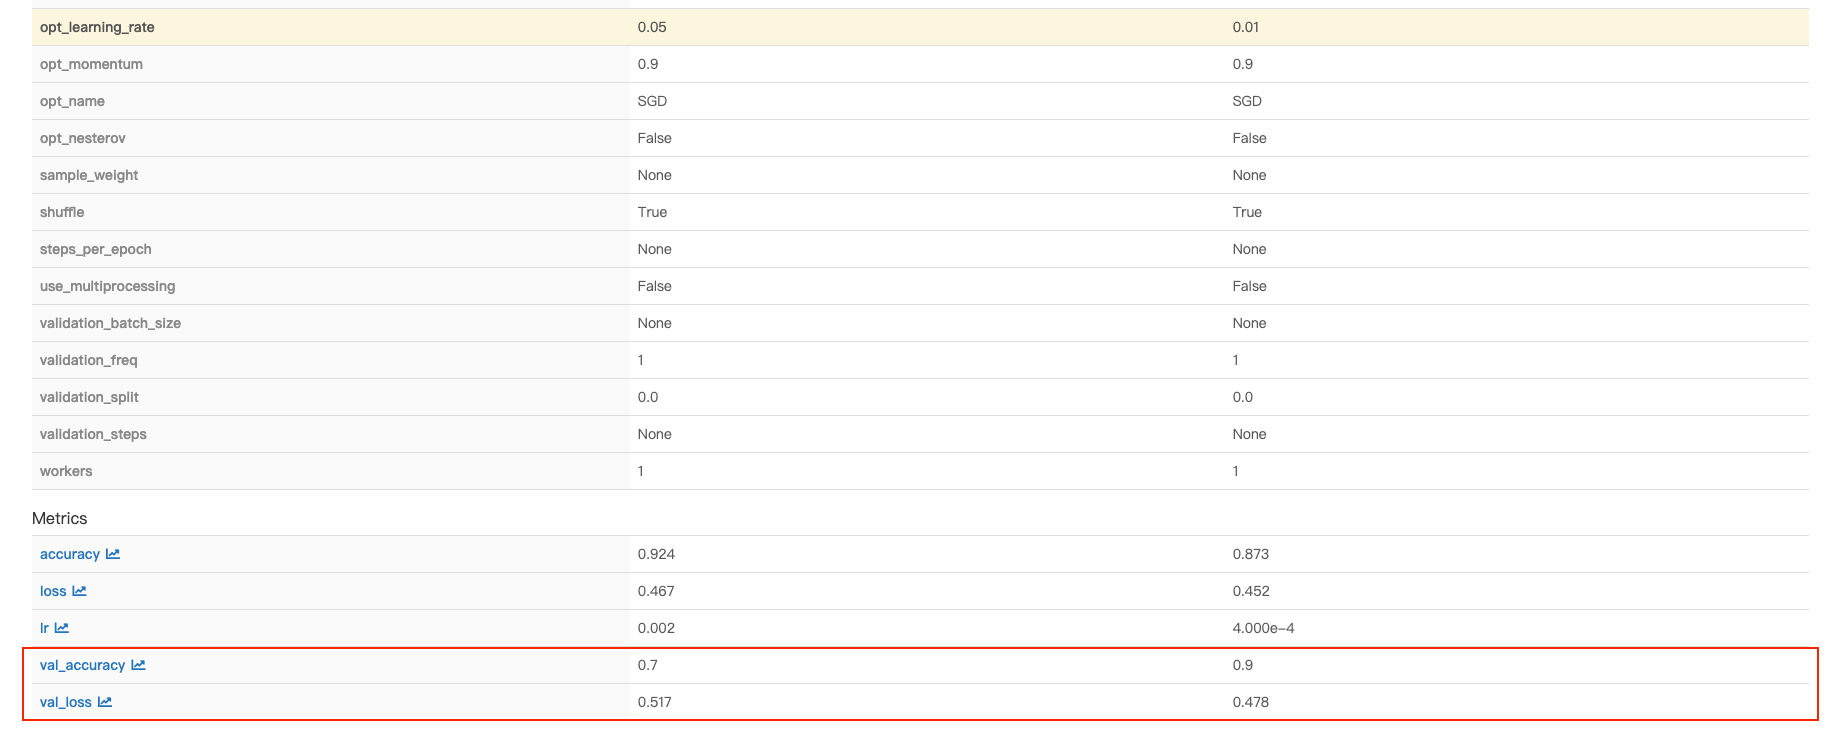
Note: Your accuracy and loss results may differ slightly than those shown here
At the top of the page, click the Run ID link for the run with the base_learning_rate of 0.01

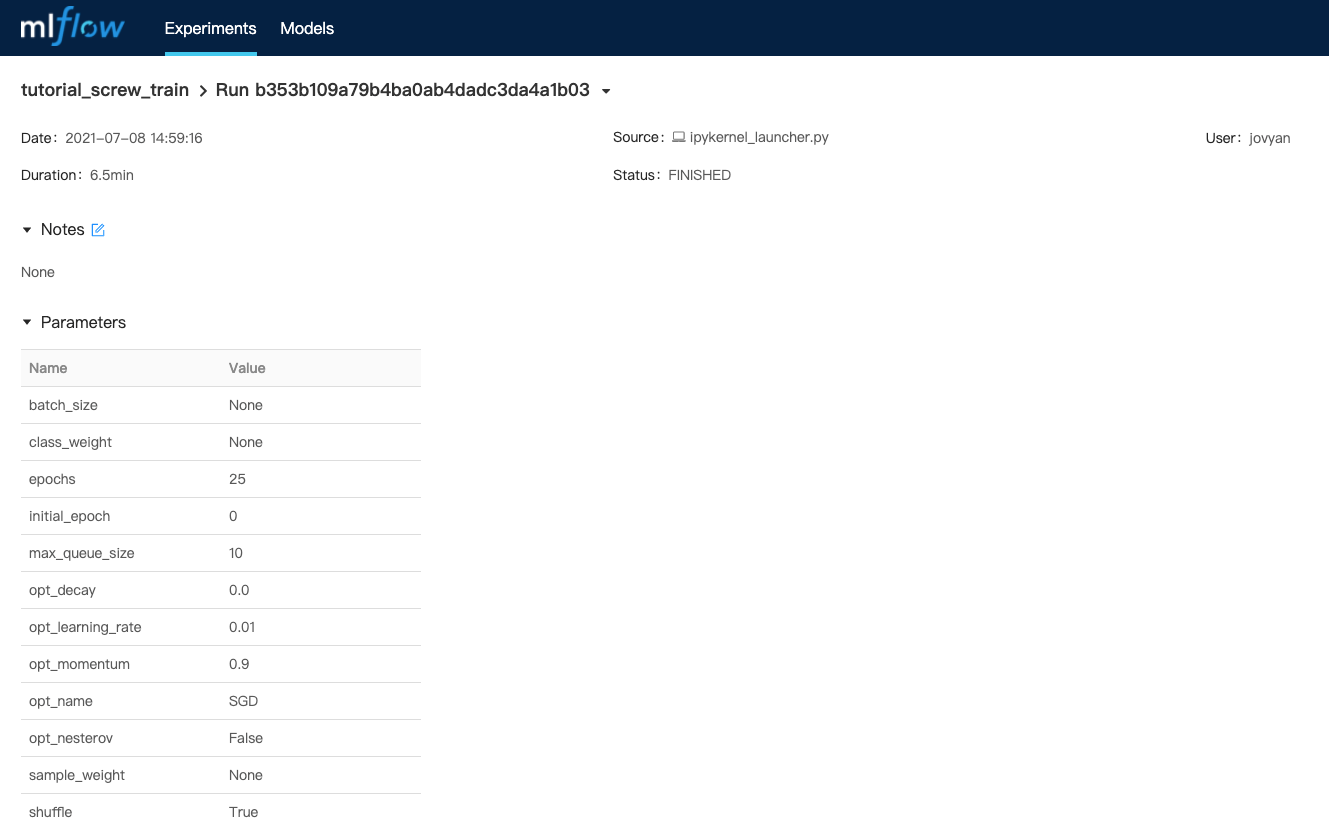
Here we can see the parameters, metrics, and artifacts of this run.
Register Model
To register this run as a model, scroll down to the artifacts section, click model in the left sidebar, and then click the Register Model button.

In the Register Model dialog, click the Select a Model dropdown, and then click Create New Model.

Enter the Model Name as tf-screw-model and then click the Register button.
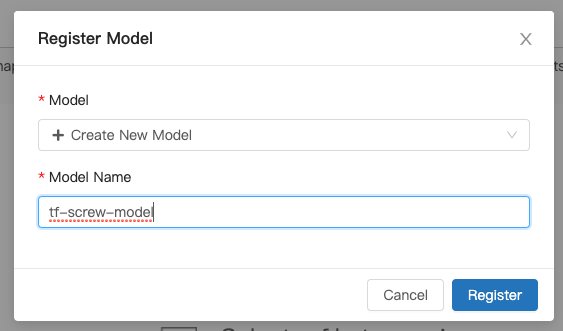
The model will be registered as v1 (version 1).

Go back to PrimeHub and refresh the Models page. The newly created tf-screw-model will be listed.

Customize Model Server Image
To deploy our registered model, we need to set up the container environment. For this step we’ll be customizing a pre-packaged model image to suit our needs. This will demonstrate how to modify, build, and deploy a custom image using PrimeHub Deployments.
Requirements
To follow the instructions in this section you should have:
- A docker account
- A familiarity with the command line
- Python version 3 or above
- An x86/64 CPU (Apple M1 currently not supported)
We will be using this Tensorflow2 Prepackaged Model Server as a template.
Clone and Edit Server Image
On your local computer, run the following commands to clone the model server repository:
git clone https://github.com/InfuseAI/primehub-seldon-servers.git
cd primehub-seldon-servers/tensorflow2/
In a text editor, open the following file: tensorflow2/Model.py
We will be updating this file to meet our input-data requirements.
Find the following section:
def predict(self, X, feature_names = None, meta = None):
    ...
    if isinstance(X, bytes):
        img = Image.open(BytesIO(X))
        img = np.array(img).astype(np.float32)
        X = np.copy(img)
        X /= 255.0
        X = np.expand_dims(X, axis=0)
    ...
Replace these three lines:
        X = np.copy(img)
        X /= 255.0
        X = np.expand_dims(X, axis=0)
With these two lines:
       img = np.stack((img,)*3, axis=-1)
       X = np.expand_dims(img, axis=0)
Your code should now look like this:
def predict(self, X, feature_names = None, meta = None):
    ...
    if isinstance(X, bytes):
        img = Image.open(BytesIO(X))
        img = np.array(img).astype(np.float32)
        img = np.stack((img,)*3, axis=-1)
        X = np.expand_dims(img, axis=0)
    ...
The line np.stack((img,)*3, axis=-1) converts a grayscale image to a 3-channel image. As the demo images for this tutorial are grayscale, we require this line to ensure images are in a suitable format to act as input for our model.
After editing and saving Model.py, build the pre-packaged model image with the following command.
docker build . -t tensorflow2-prepackaged
Check that the image is listed by running:
docker images
The output should look similar to:
REPOSITORY                TAG          IMAGE ID       CREATED        SIZE
tensorflow2-prepackaged   latest       689530dd1ef9   3 minutes ago  1.67GB
Tag and Push to Docker
Tag the image into your Docker registry with the screw-classification tag, replacing <username> with your Docker username.
docker tag tensorflow2-prepackaged:latest <username>/tensorflow2-prepackaged:screw-classification
If you’re not logged into docker yet, log in now:
docker login
Push the image we just tagged to your docker registry. Again, change <username> to match your Docker username.
docker push <username>/tensorflow2-prepackaged:screw-classification
Model Deployment
Once the image has been successfully pushed to docker, it’s time to deploy our model!
On the Models page in PrimeHub, click our managed model with the name tf-screw-model.

The following page shows all versions of the tf-screw-model model. Click the Deploy button for Version 1.

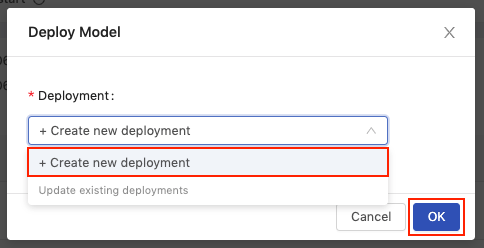
In the Deploy Model dialog, select Create new deployment from the Deployment dropdown and then click OK.
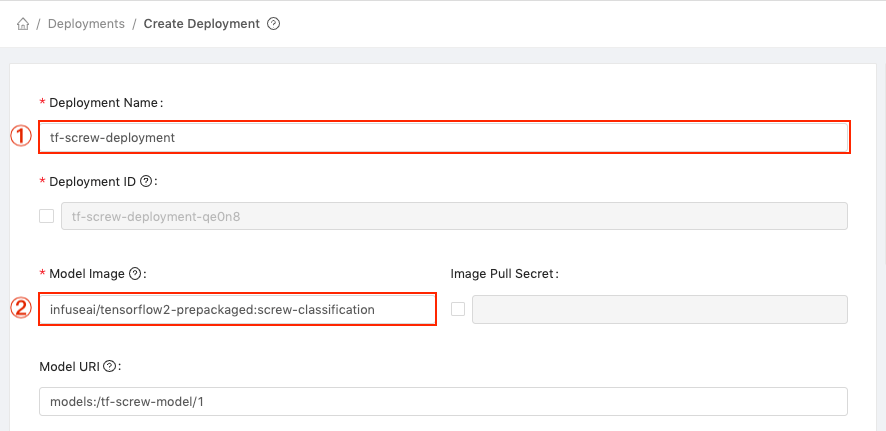
You will be directed to the Create Deployment page, and the Model URI field will have been automatically filled with the path of the selected model (models:/tf-screw-model/1).
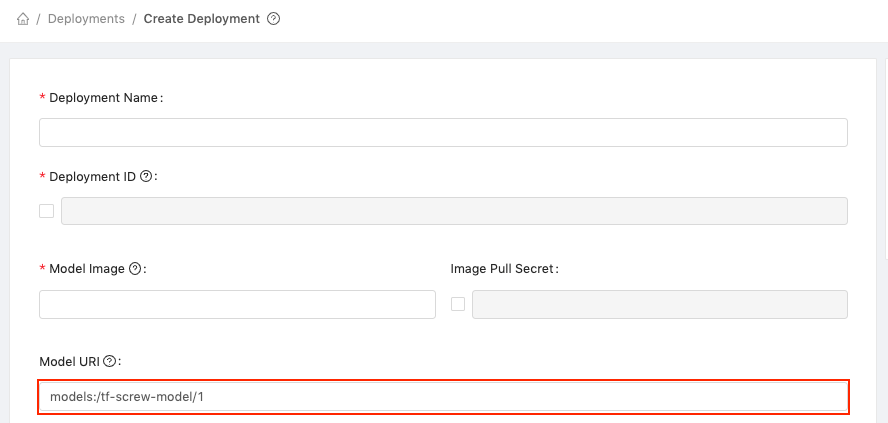
Complete the form with the following information:
In the Deployment Name field enter tf-screw-deployment.
Then, in the Model Image field, enter the Docker path of the model we pushed to your Docker registry, e.g. <username>/tensorflow2-prepackaged:screw-classification, replacing <username> with your Docker username.
Configure the instance type settings - The minimal requirements for this tutorial are CPU: 0.5 / Memory: 1 G / GPU: 0.
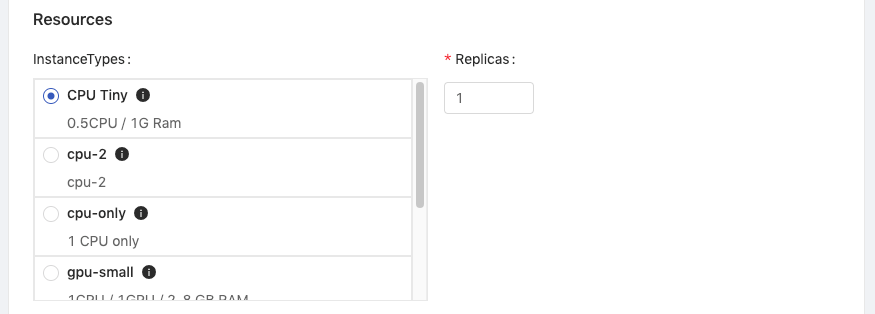
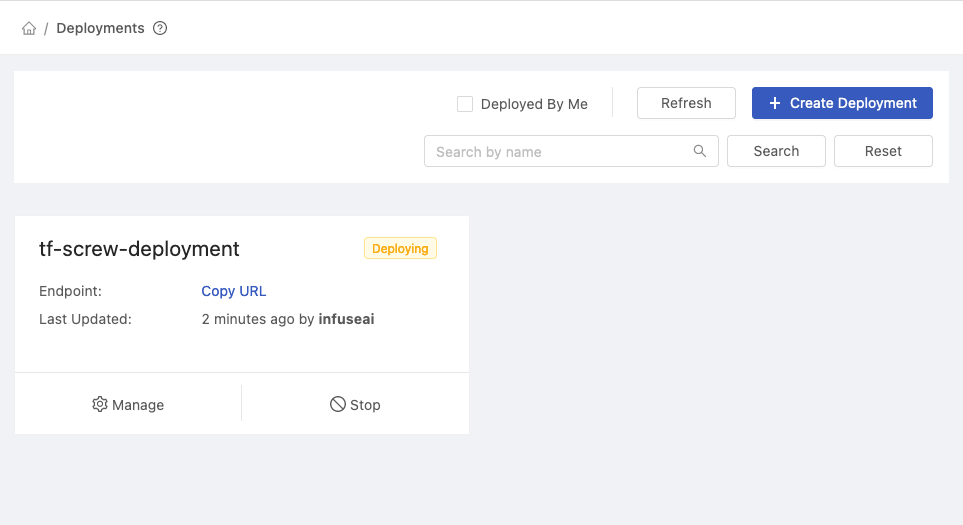
Click the Deploy button and you will be redirected to the Deployments page.
To view the details of the deployment, click the tf-screw-deployment card.
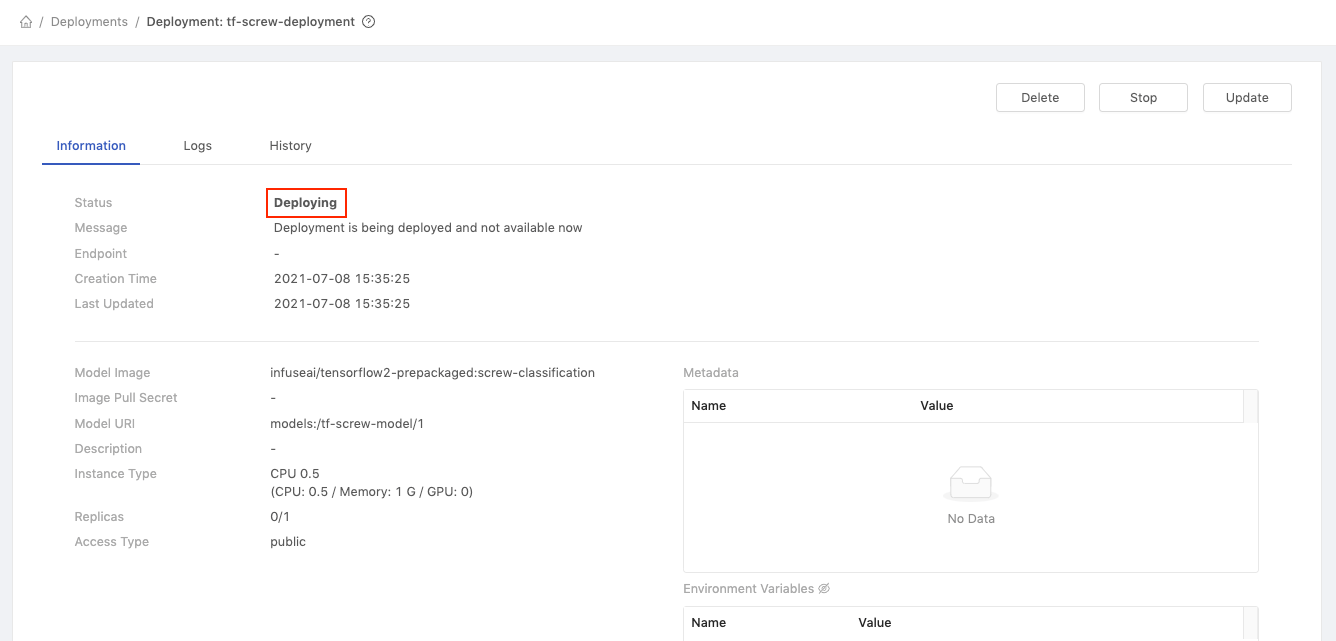
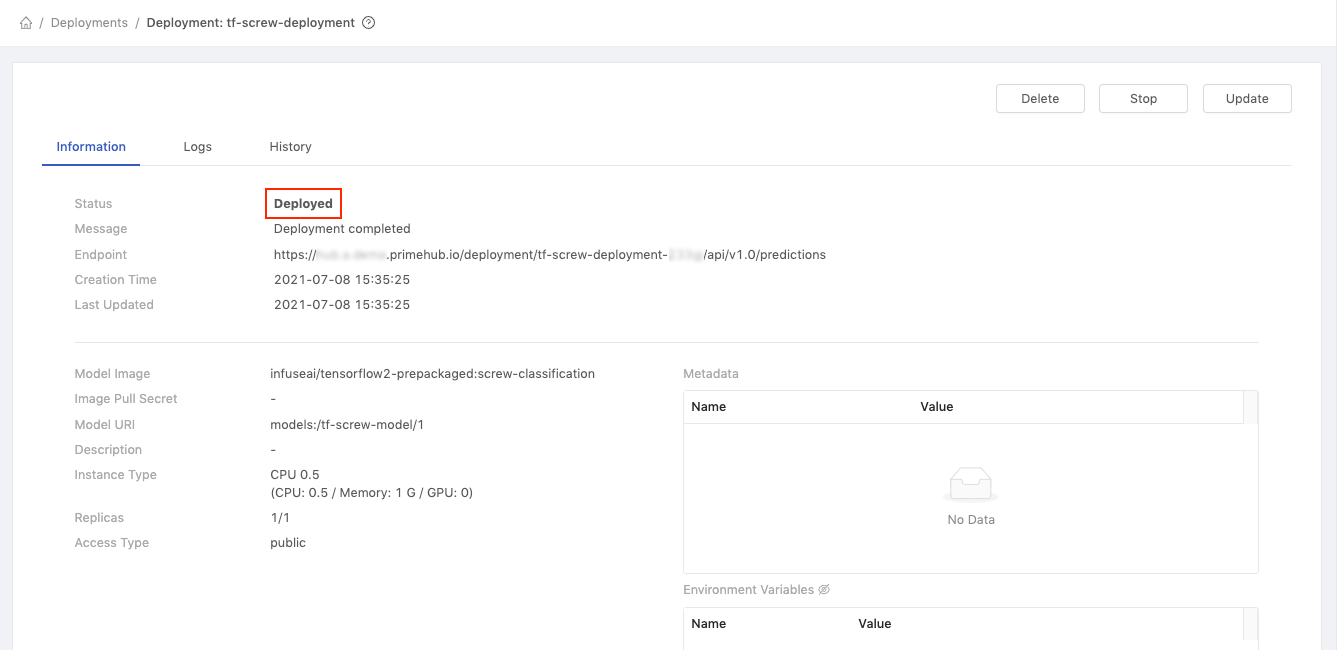
On the deployment details page, we can see the status is currently Deploying
Test Deployed Model
Once the model has successfully deployed, the page will automatically update and the status will show as Deployed. We can now test the deployed model.
Copy the value of Endpoint (https://.../predictions)
Run the following code in your terminal, replacing path/to/image with the path of a locally saved screw image, and ${YOUR_ENDPOINT_URL} with the value we copied from the Deployment page.
curl -F 'binData=@path/to/image' ${YOUR_ENDPOINT_URL}
For example:
curl -F 'binData=@val/good/000.png' https://xxx.primehub.io/deployment/tf-screw-deployment-xxxxx/api/v1.0/predictions

Here’s the response from the model:
{"data":{"names":["t:0"],"tensor":{"shape":[1,1],"values":[2.065972089767456]}},"meta":{"requestPath":{"model":"infuseai/tensorflow2-prepackaged:screw-classification"}}}
The positive number returned for values indicates that this was a good screw. A negative return value would indicate a bad screw.
Note: If you try to upload your own images, not from the demo set, please resize to 1024 x 1024 and limit the size to under 1MB
Conclusion
In this tutorial, we compared and selected a suitable model using MLflow, customized a Tensorflow 2 Prepackaged Model Server, deployed a model, and tested the model with sample data.
In part 4, we will add a web interface to our model using Streamlit, another app available through PrimeHub Apps.